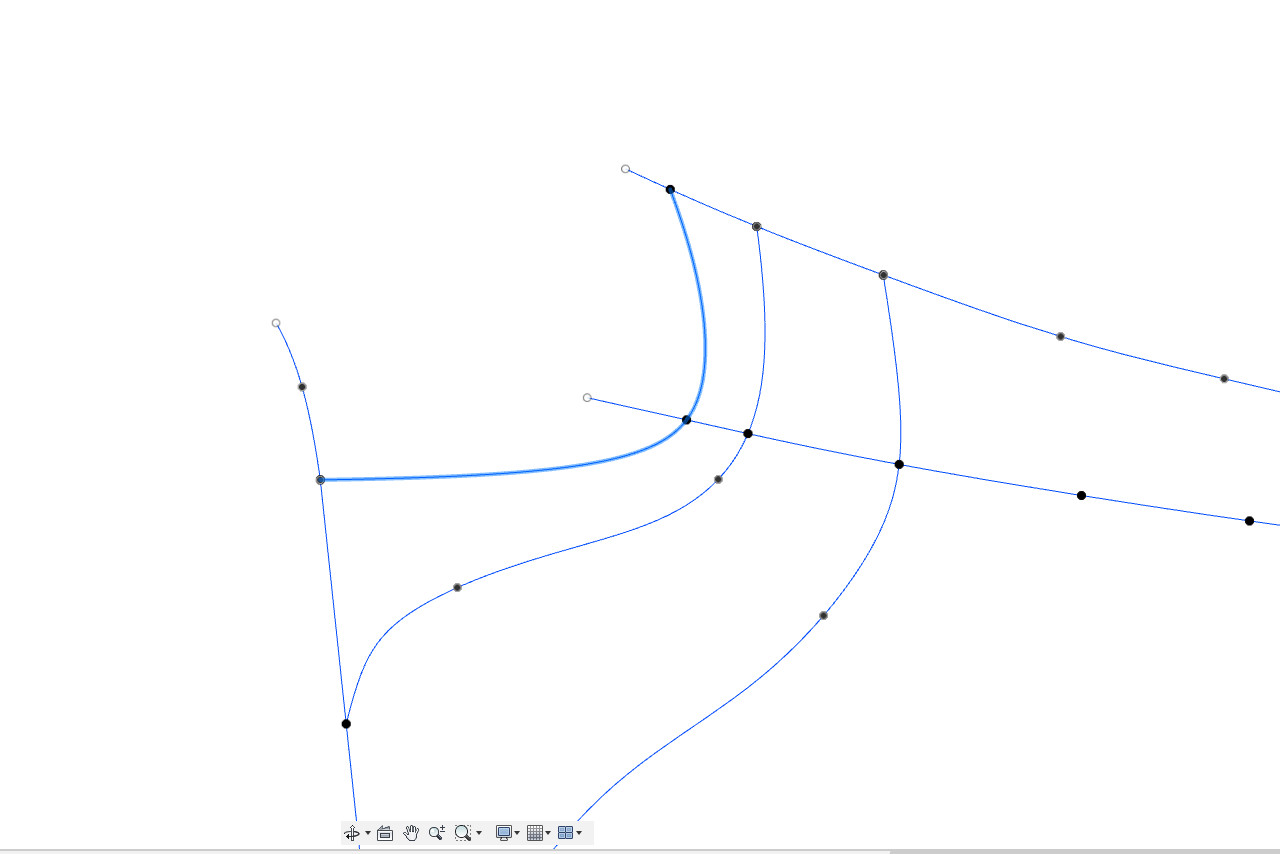
In order to establish a good ending shape for the hull, I added one more curve at the stern. This is a little guesswork since it isn’t a line on the plans, but I think the shape is pretty close.
Now the lofting can begin. I click on “Create Form” to enter the sculpt environment. Then Create -> Loft.
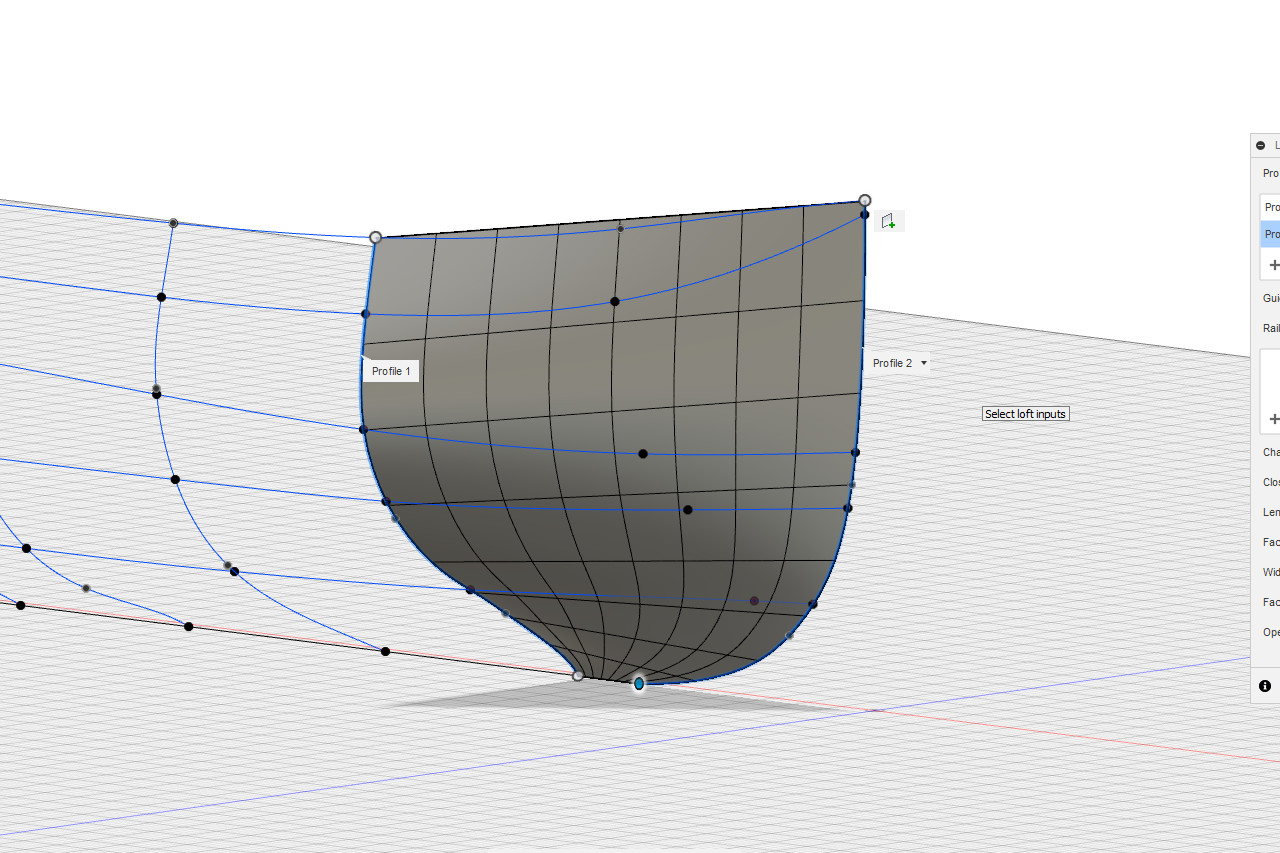
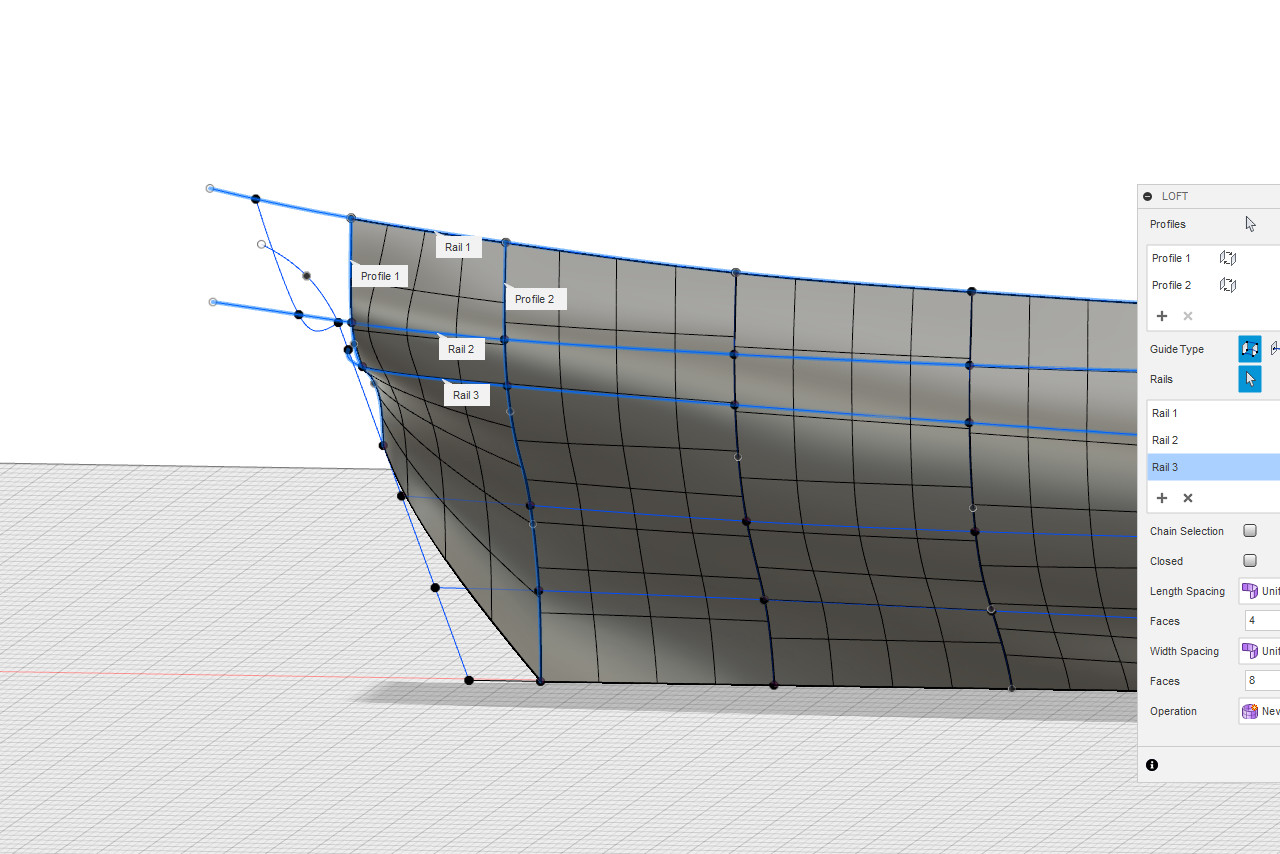
When I select the start and end curves for the first loft, it looks like this.
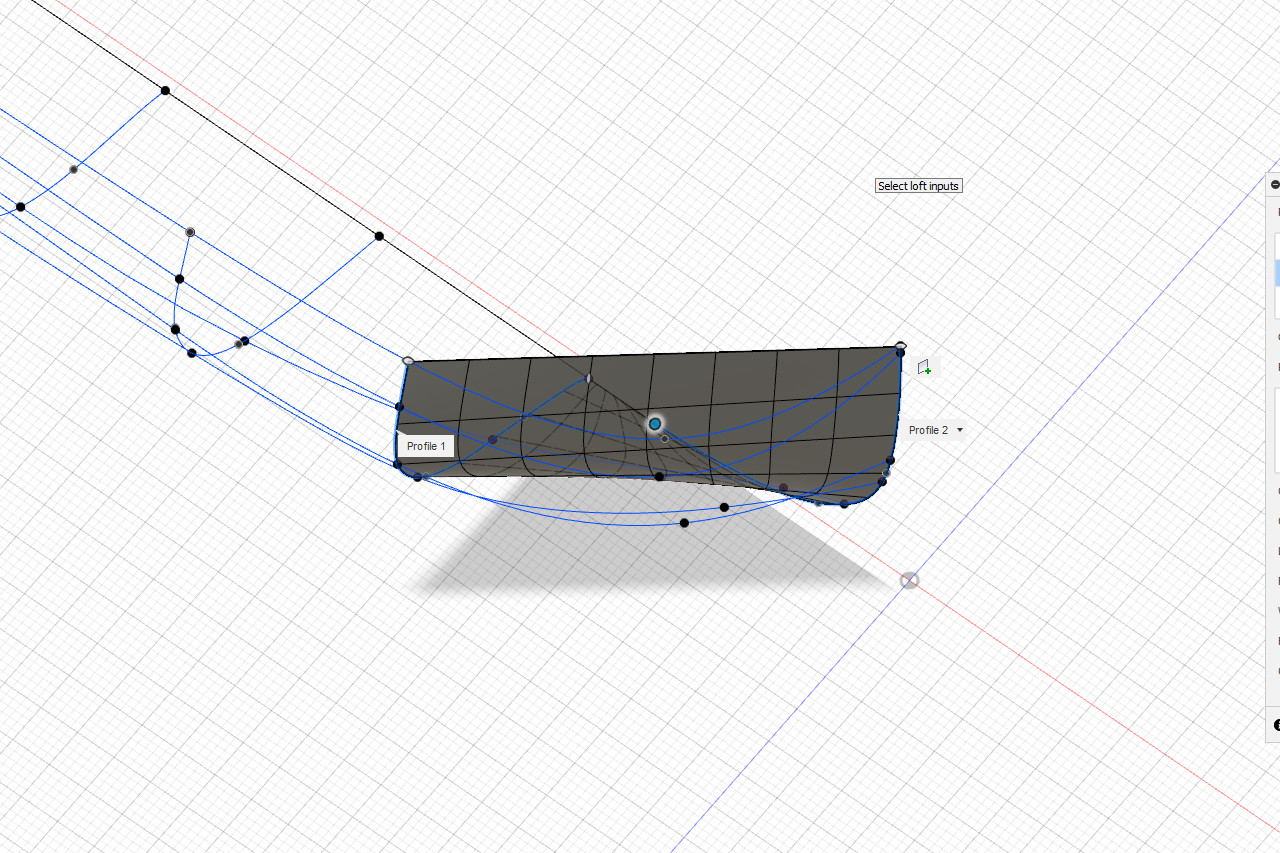
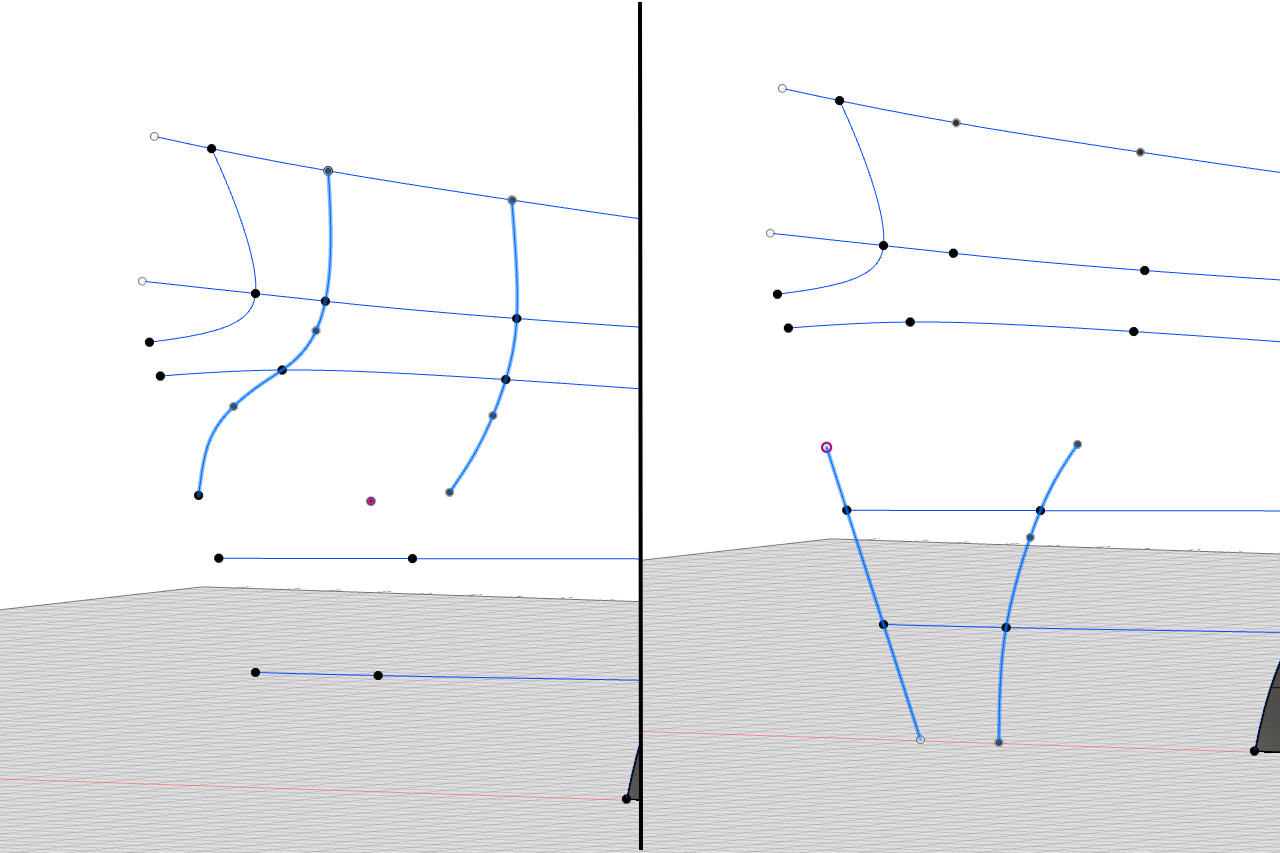
From above, it’s clear that the shape isn’t right when there aren’t any rails.
Once the rails are selected, the shape conforms to them.

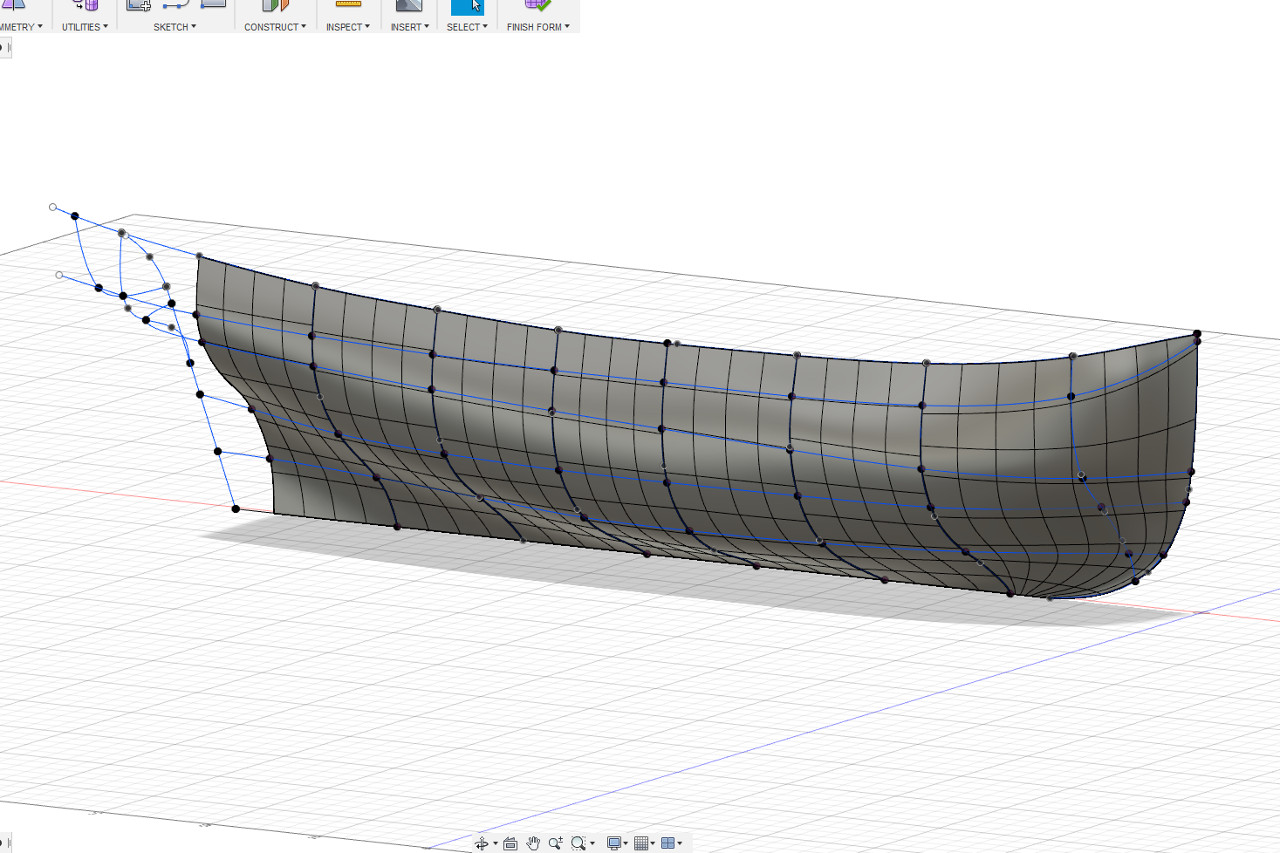
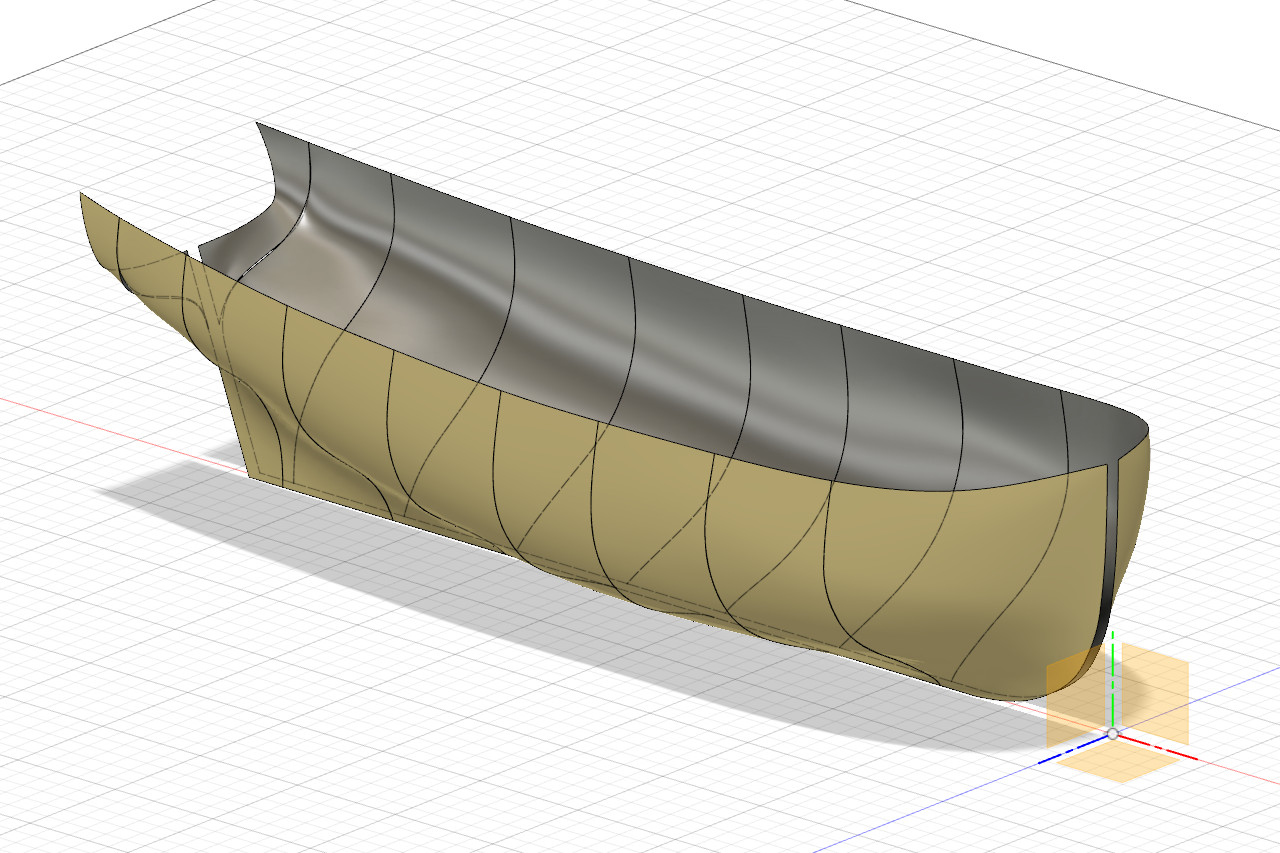
The surface is constructed in sections by lofting between station lines.
Uh oh. The loft doesn’t work back here.
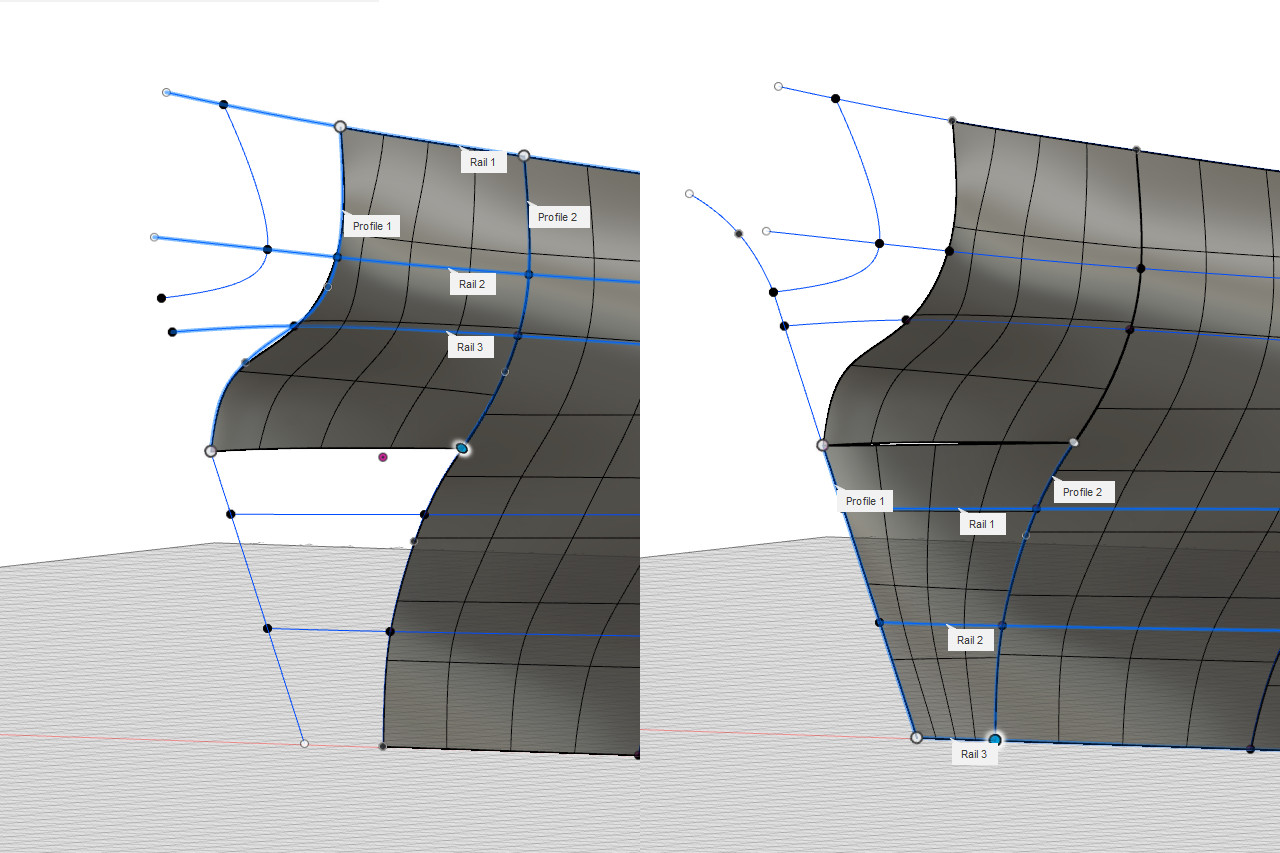
My solution is to loft this area in two parts. First, I break the longer station line into two parts. The top part stops at the same height as where the smaller station line ends. The remaining half of the station line matches a line along the sternpost.
Then the two pieces are lofted separately.
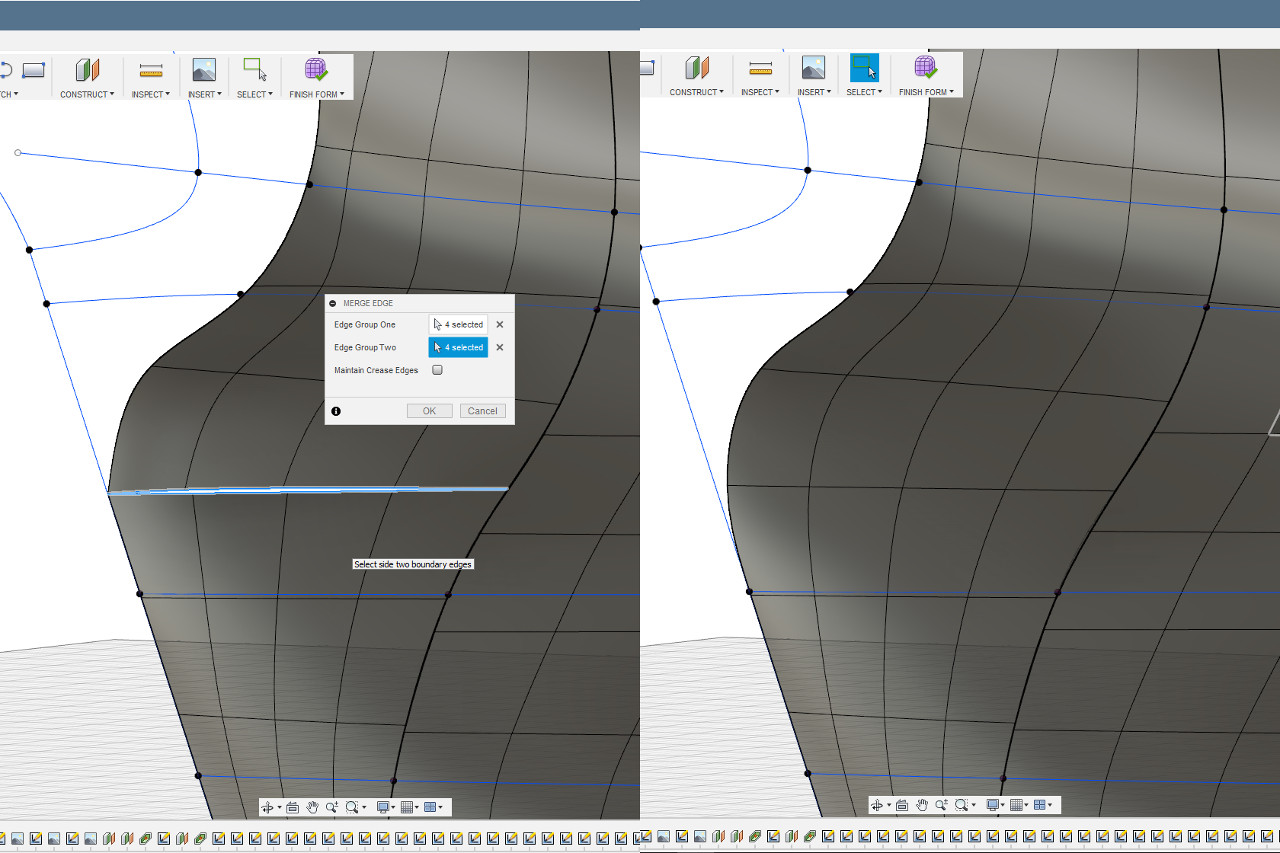
There is a little gap between the pieces. The Modify -> Merge Edge operation is used to seal the gap.
I finish the lofting and create a mirror of the surface. It doesn’t look too bad. The reflection in the aft area has a little wobble in it, showing the isn’t quite smooth there, but I can deal with that later.
It’s neat, but so what? How can I use this?