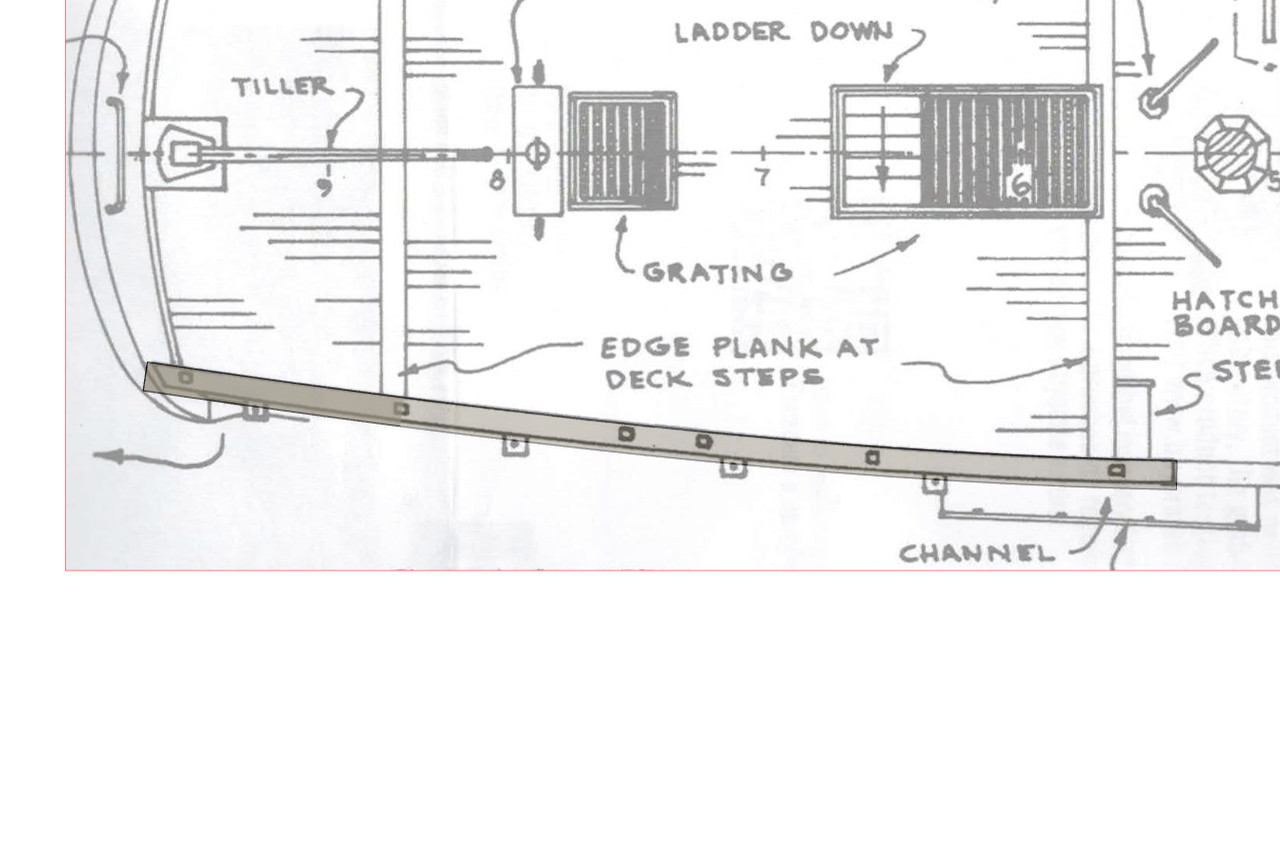
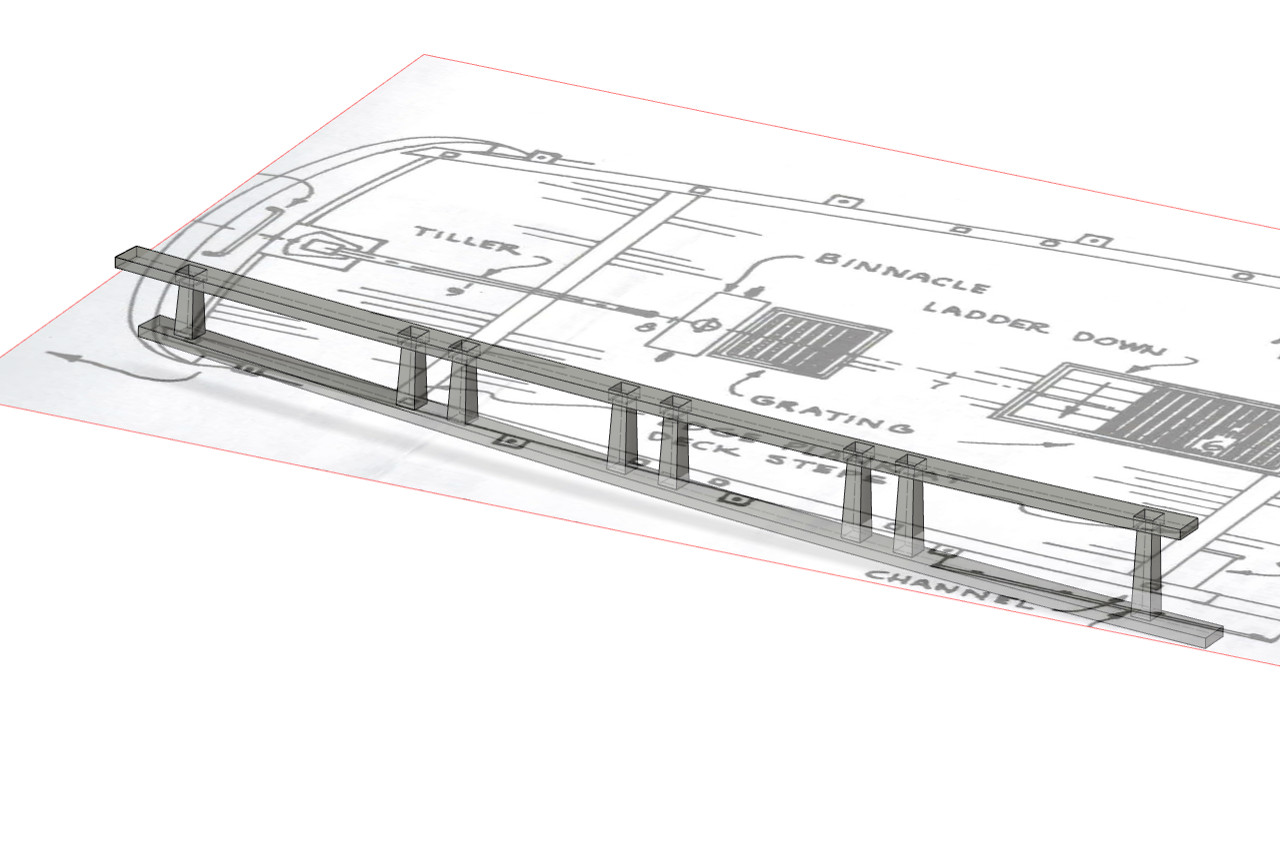
The aft rails are next. Below is a picture of the Sultana with the rail stanchions marked. Middle stanchions are in pairs, and there are singles at each end. (At least, that’s what I assumed. The foremost may also be a pair, but I couldn’t see it clearly in any pictures, and I went with a single.)

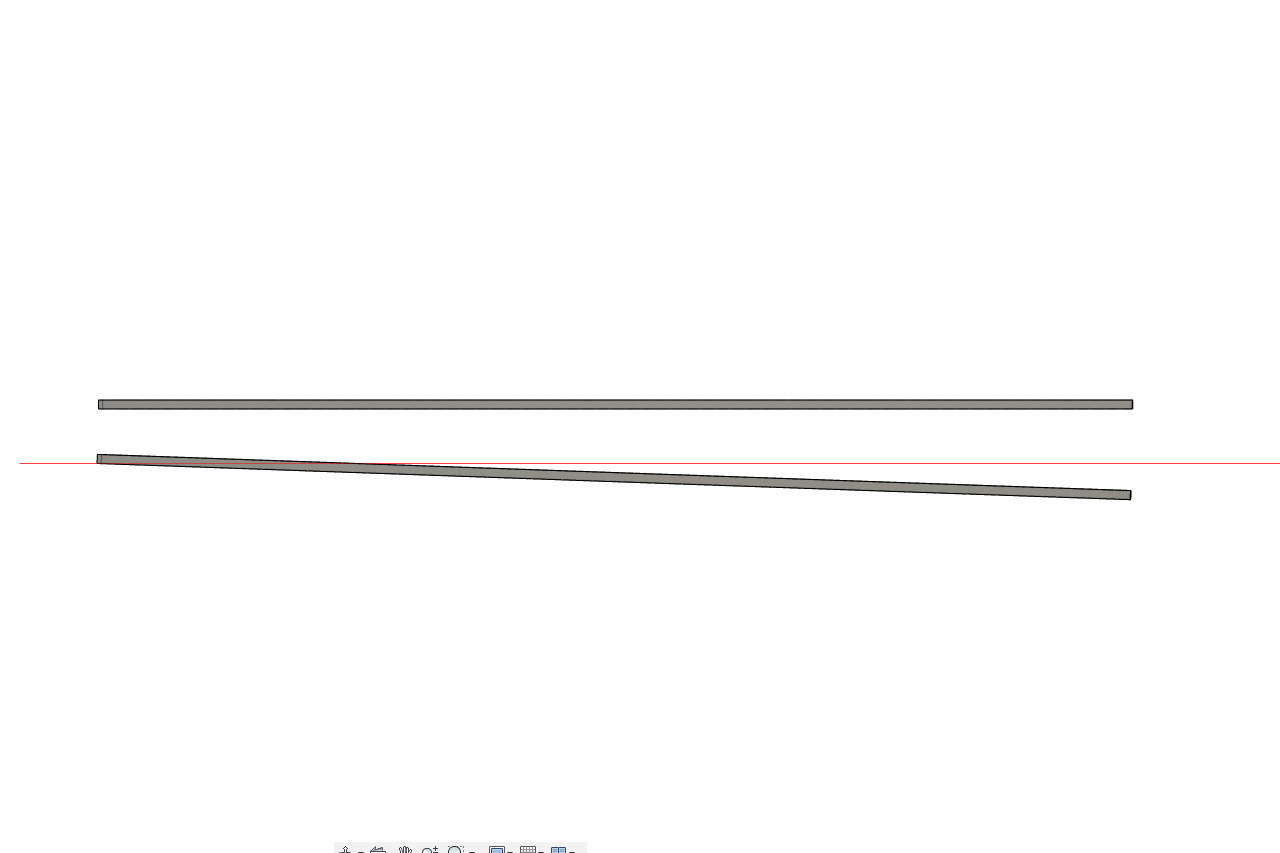
I created the shape of the rail in Fusion 360 to match the curve of the edge of the deck. All rails here and in future steps will be 3.2mm wide and 1mm thick, to mimic 1/8″ x 1/32″ strip wood.
I made a copy of the rail and positioned the rails in approximately the angle they would appear on the ship.
The stanchions were added. Stanchions are 2mm square at the base, tapering to 1.5mm at the top. Stanchions are taller forward and shorter aft to match the angle between the rails.
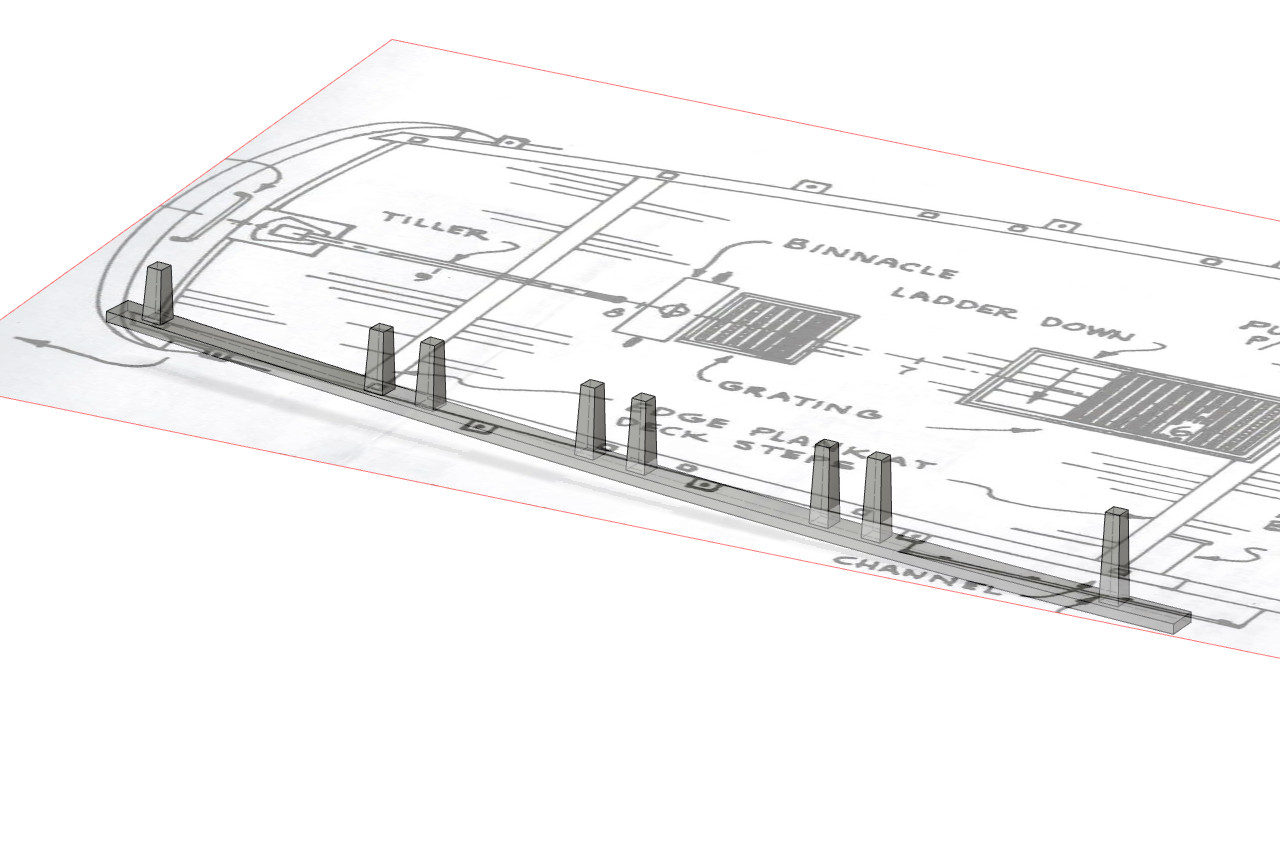
The upper rail was moved slightly aft, then square holes were added to accept the tops of the stanchions.
Here are the 3D printed parts. The set above are being glued together. The set below are fresh out of the printer.
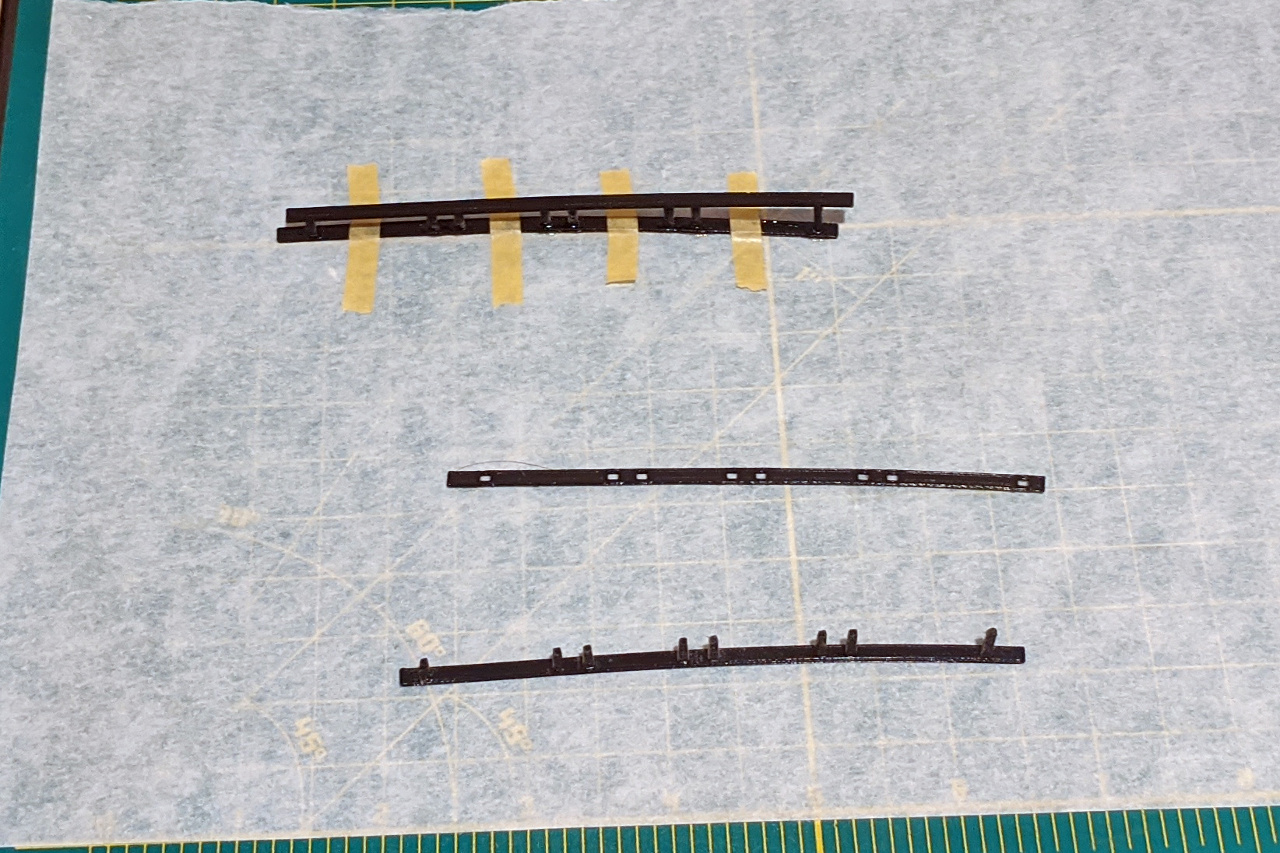
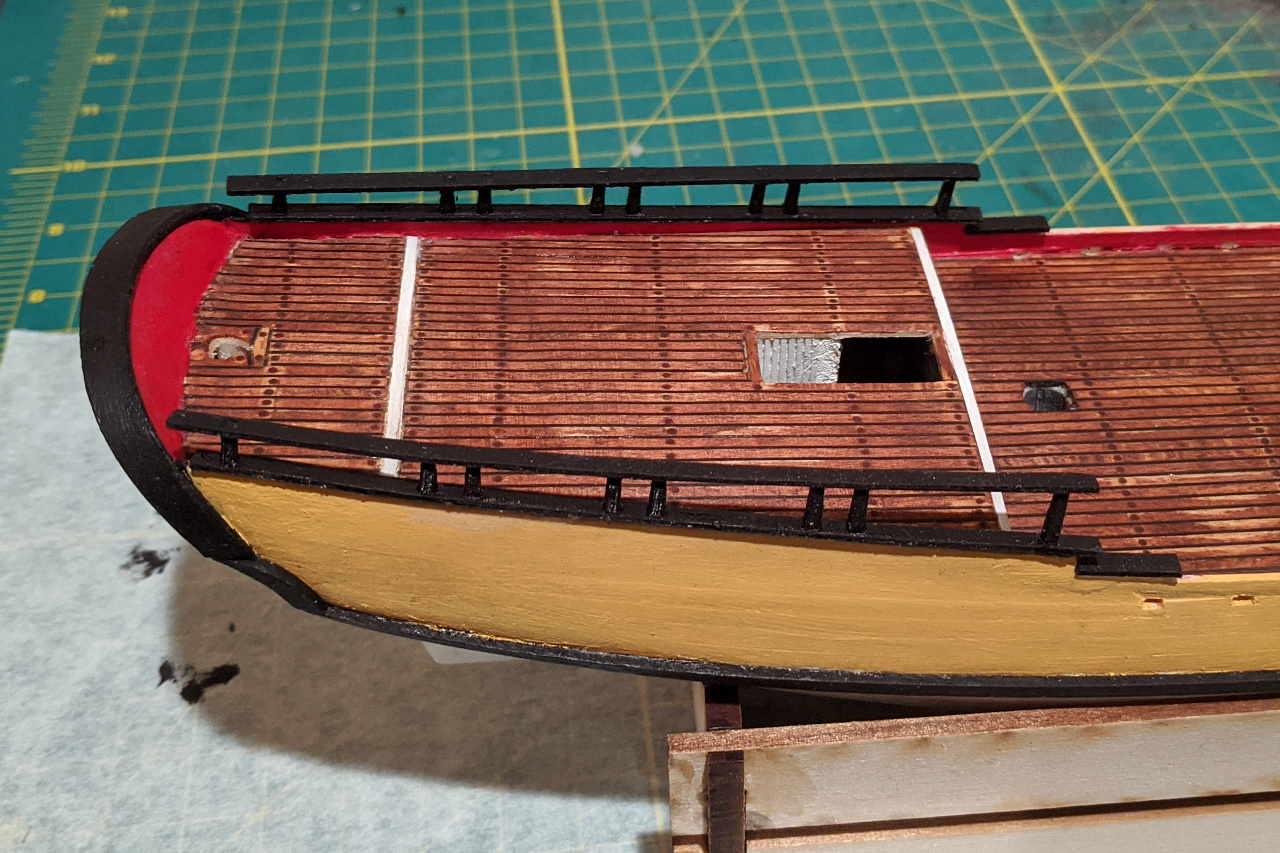
And finally the rails were glued to the ship. The rails were painted with black to remove the glossy plastic finish. I also made some short rails for the next step down. These are also visible in the picture.