Here is the template I used to laser cut the window overhang on the stern.
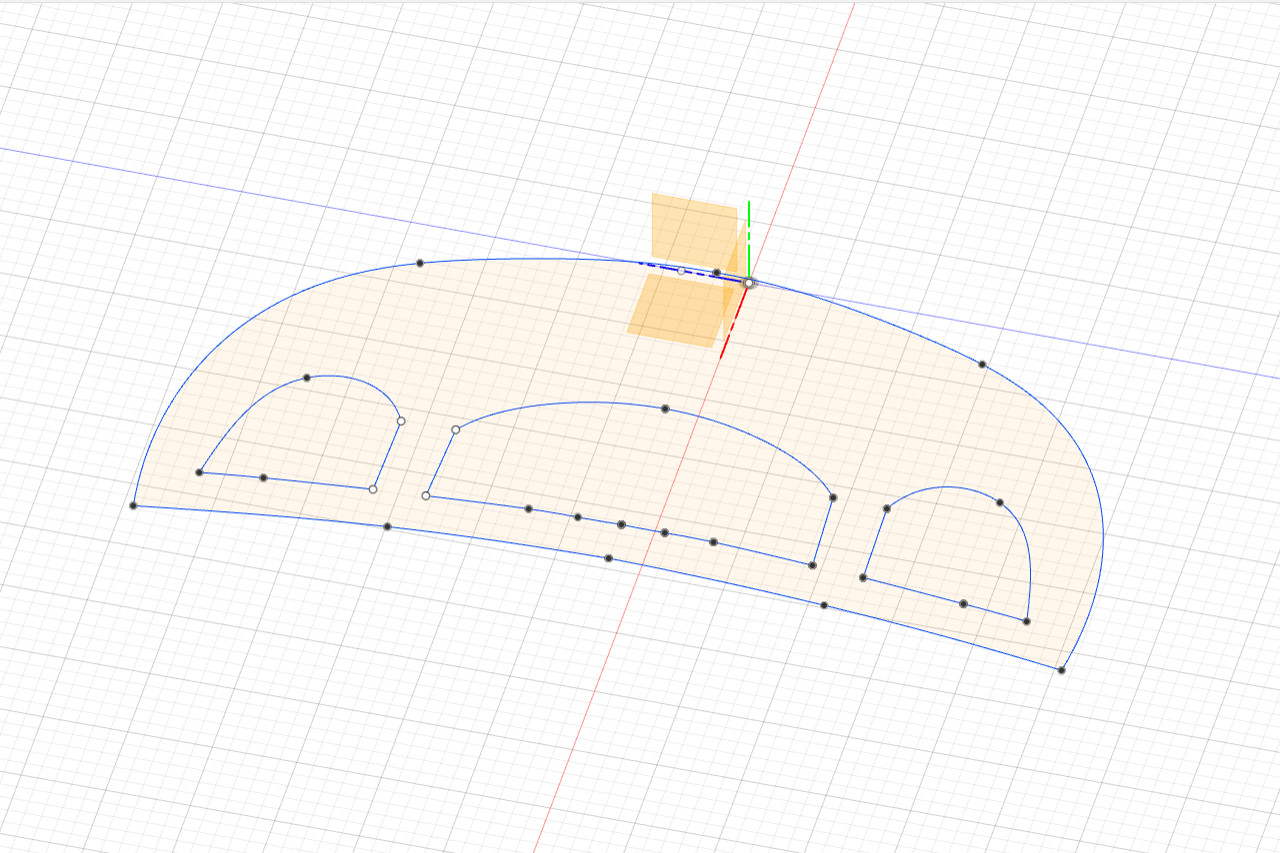
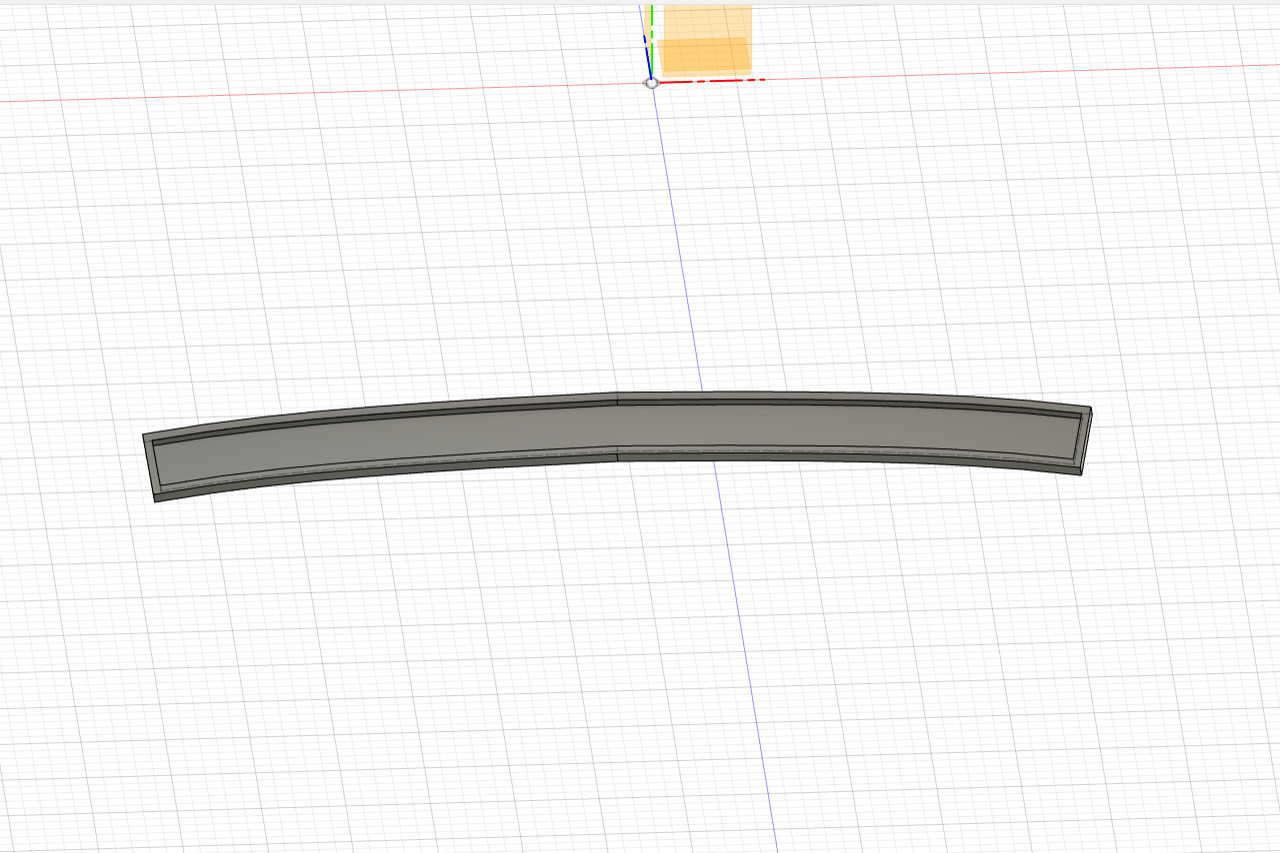
By using the lines on that template, I was able to create a pattern for the black trim around the windows. The 3D form is below. This was printed on my 3D printer.

I also created a form for the area below the windows.
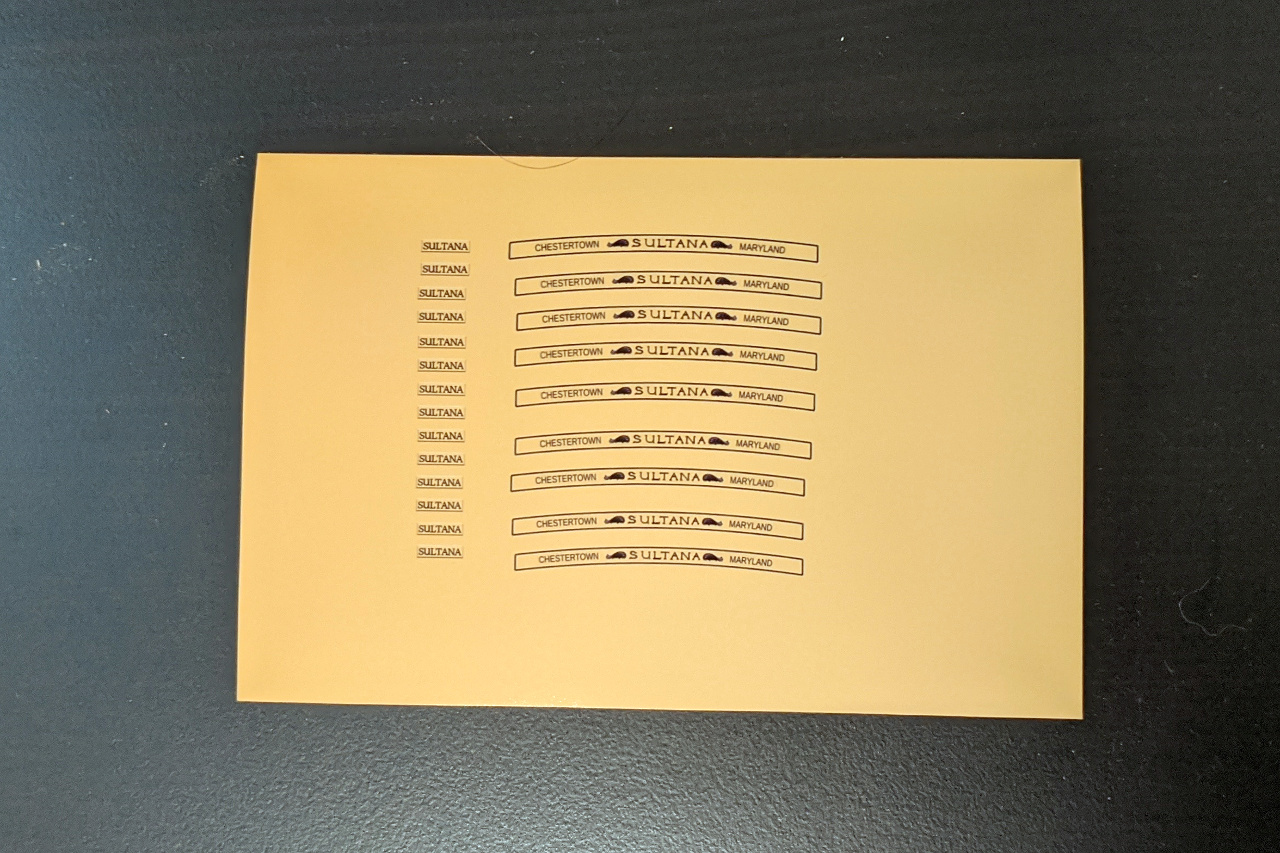
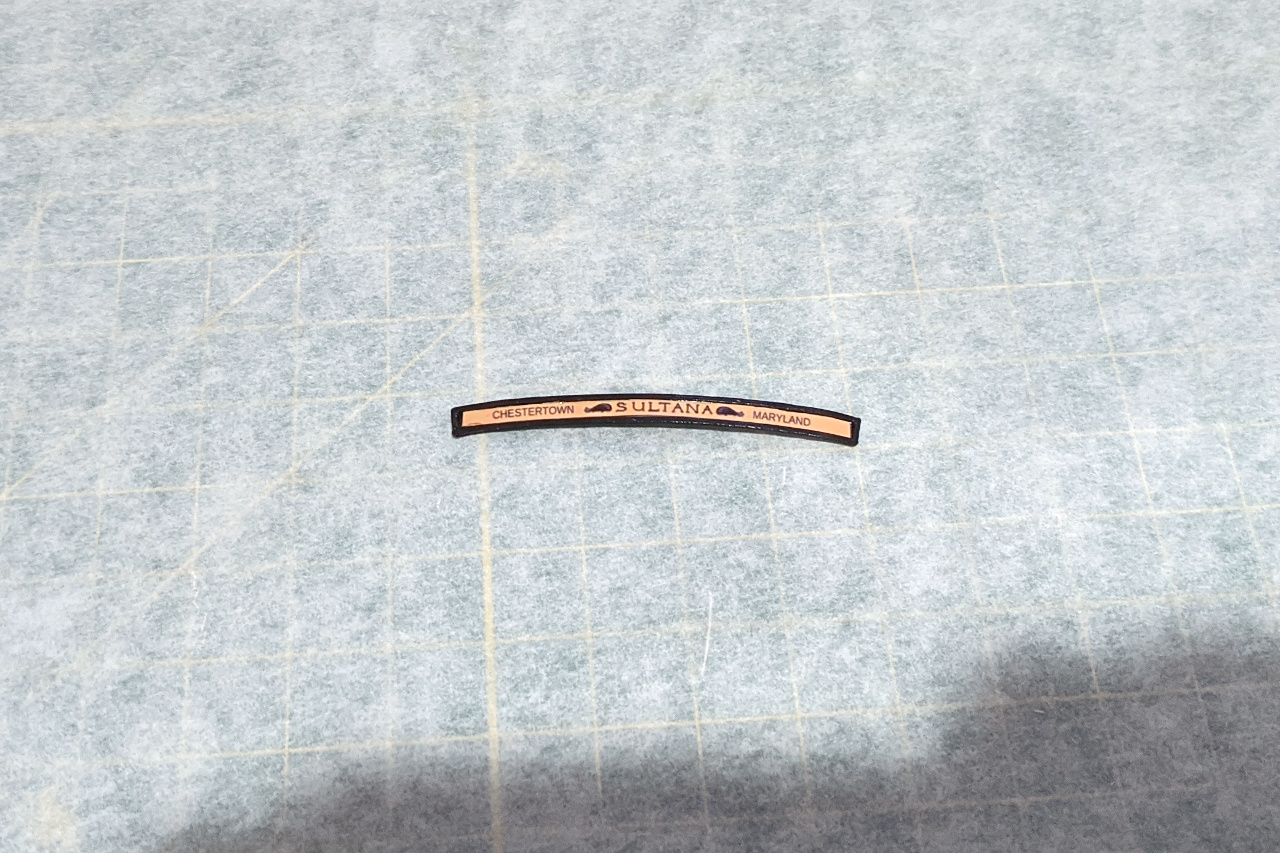
I designed and printed out the lettering on photo paper. I wasn’t sure exactly how large it should be, so I created a set of images in varying sizes. The images on the left will be used later for the nameplate on the bow.
The lettering was cut out and glued to the shape that will go below the windows.
It was necessary to trim away some of the wood below the windows so that the shape would fit properly.
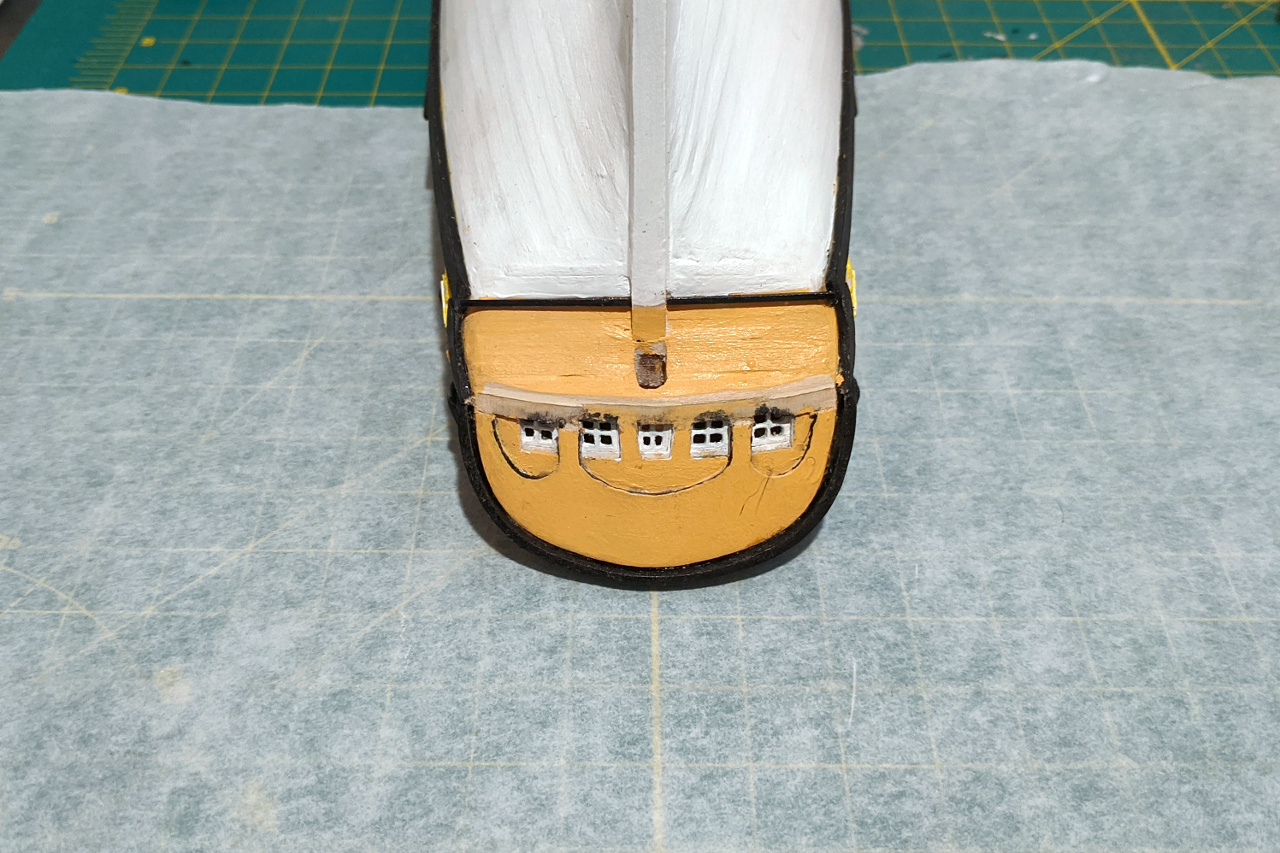
And this is the result, with the pieces glued on. Some touch-up of the paint will be needed.

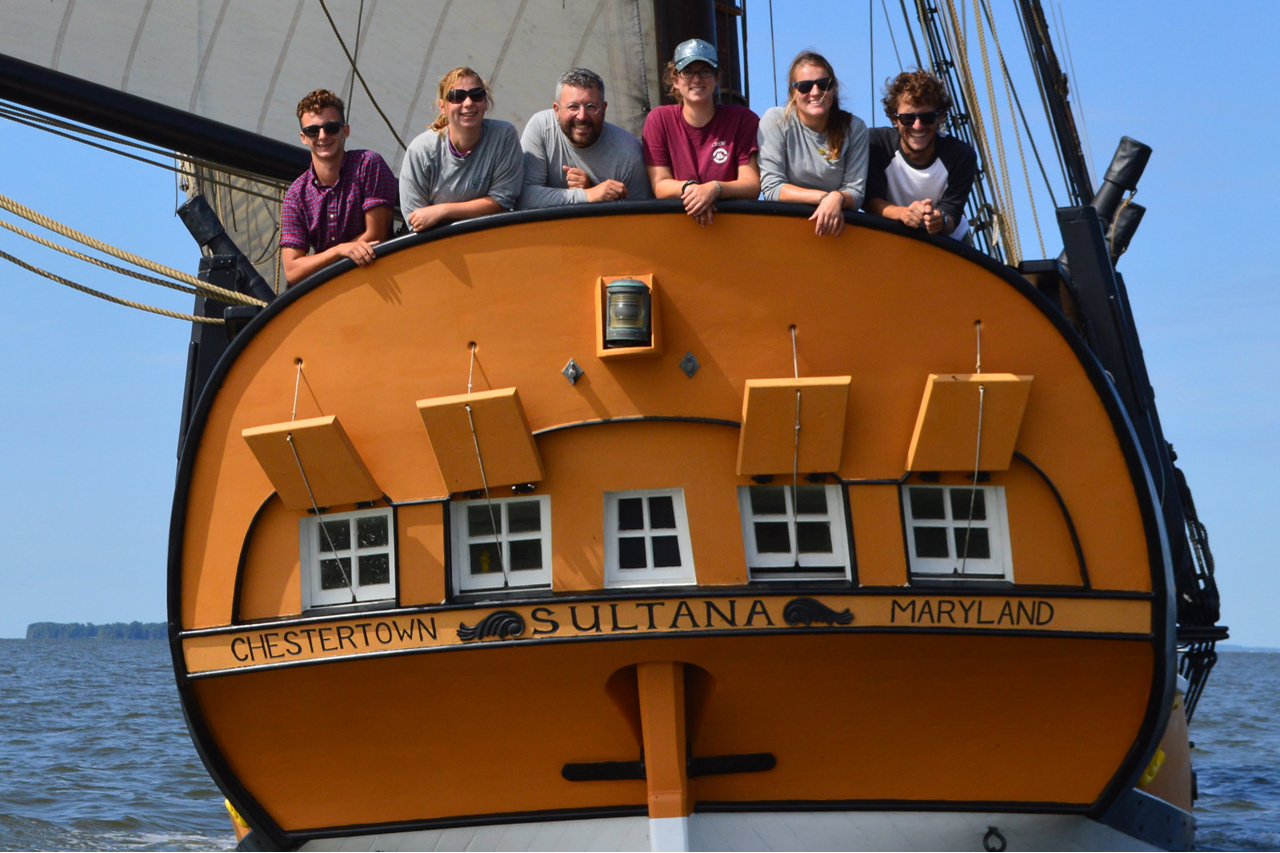
And this is a reference photo from sultanaeducation.org showing the stern. I will need to add the window covers and the lamp, but I think I will save that for later. If I added them now, they will be in danger of breaking off while I work on other parts of the ship.