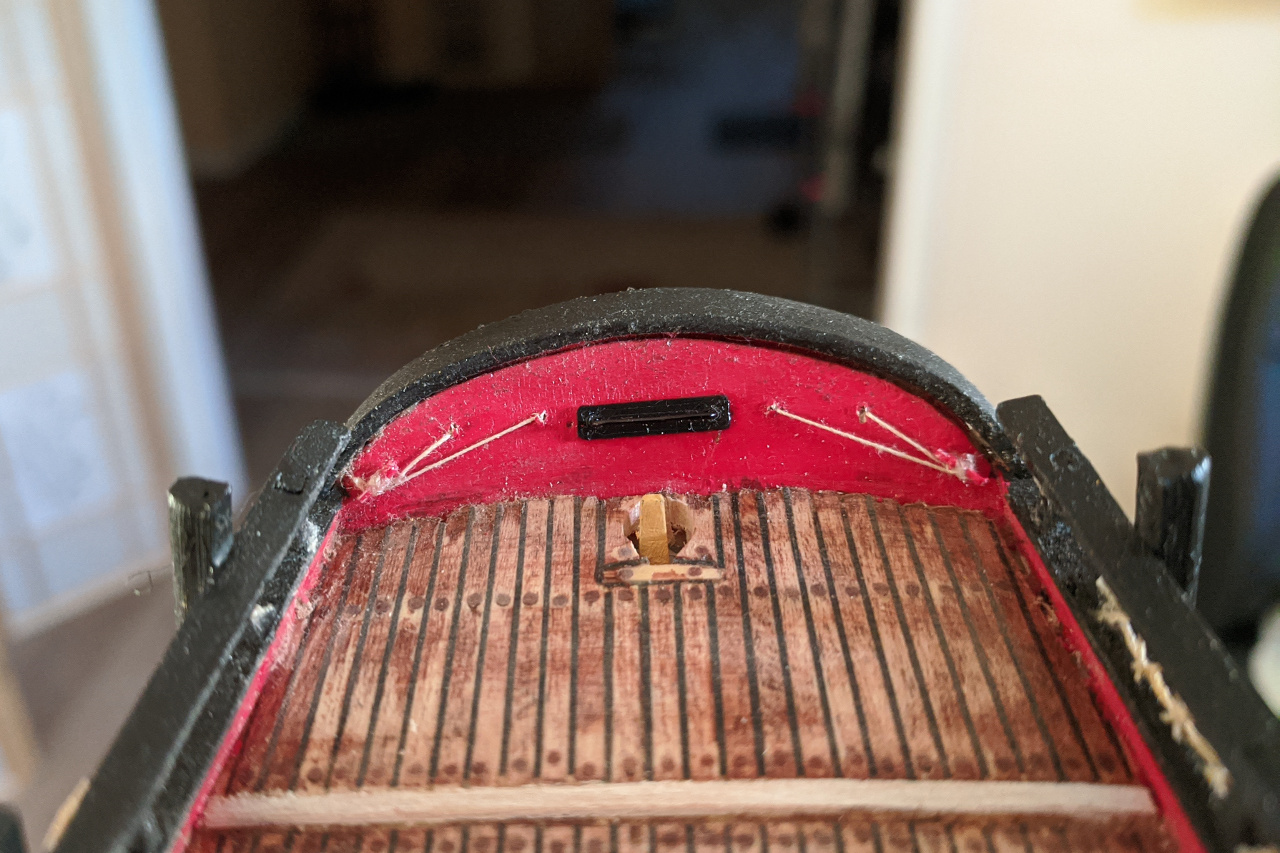
With the rudder in place, all it needs is the tiller to be complete. However, it will be difficult to work on several final features of the transom with the tiller in place, so those need to be completed first. Of those, the first is the boom sheet traveller, with a black plate behind it. You can also see the holes that were drilled for the window cover ropes.

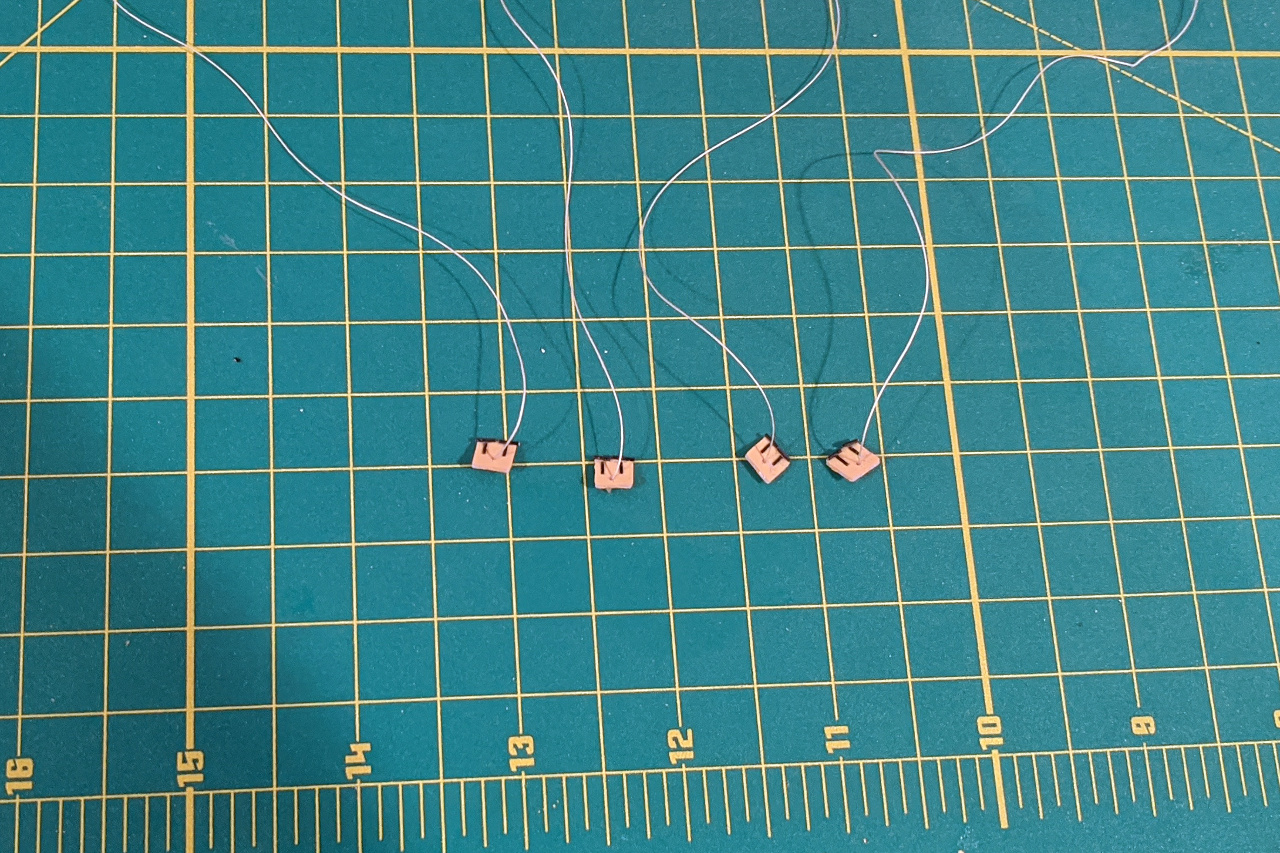
The transom windows were laser cut, so I already had their exact shape an size from the laser cut template. From that, I was able to produce the window covers in the correct size. Hinges were added in black, and the rope was threaded through each window cover.
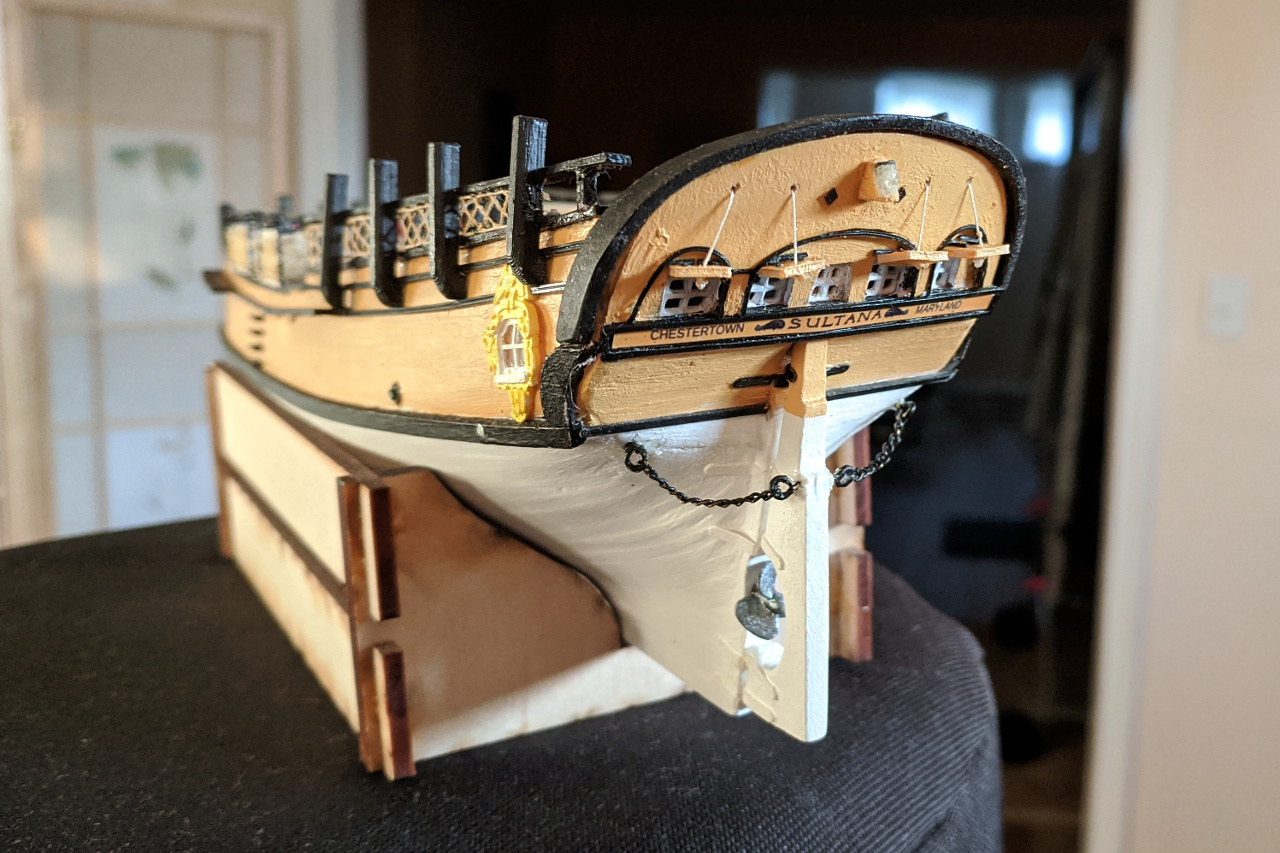
Here are all the window covers in place. I also added the lamp, whose “glass” was made by building up layers of clear glue. The small diamond shapes next to the lamp, both here on the model and on the real ship, exist to hide where the ends of the boom sheet traveler puncture the transom.
On the other side of the transom, the ropes are tied off on two very tiny cleats.
Finally, I can make the tiller. Here is the 3D design.
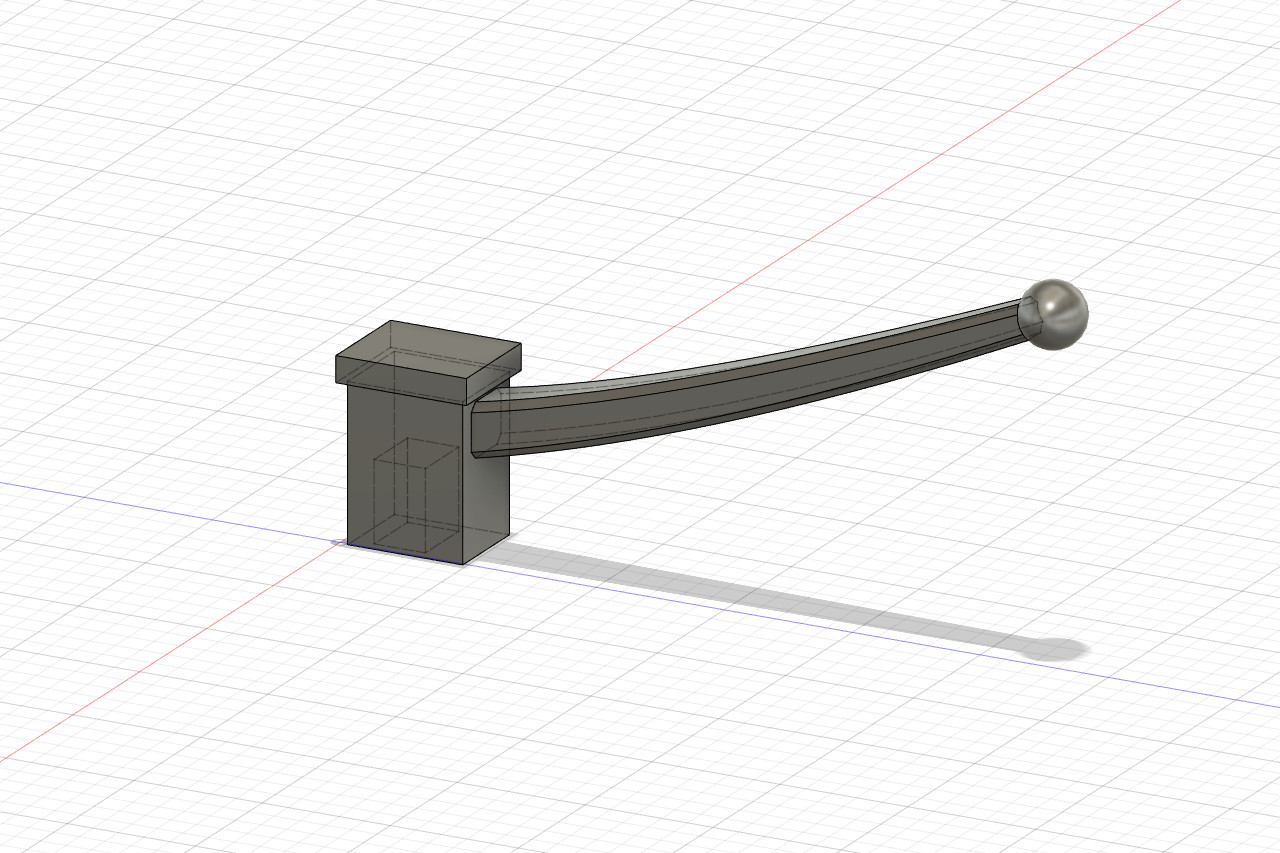
The tiller was 3D printed, painted, and installed on the ship.

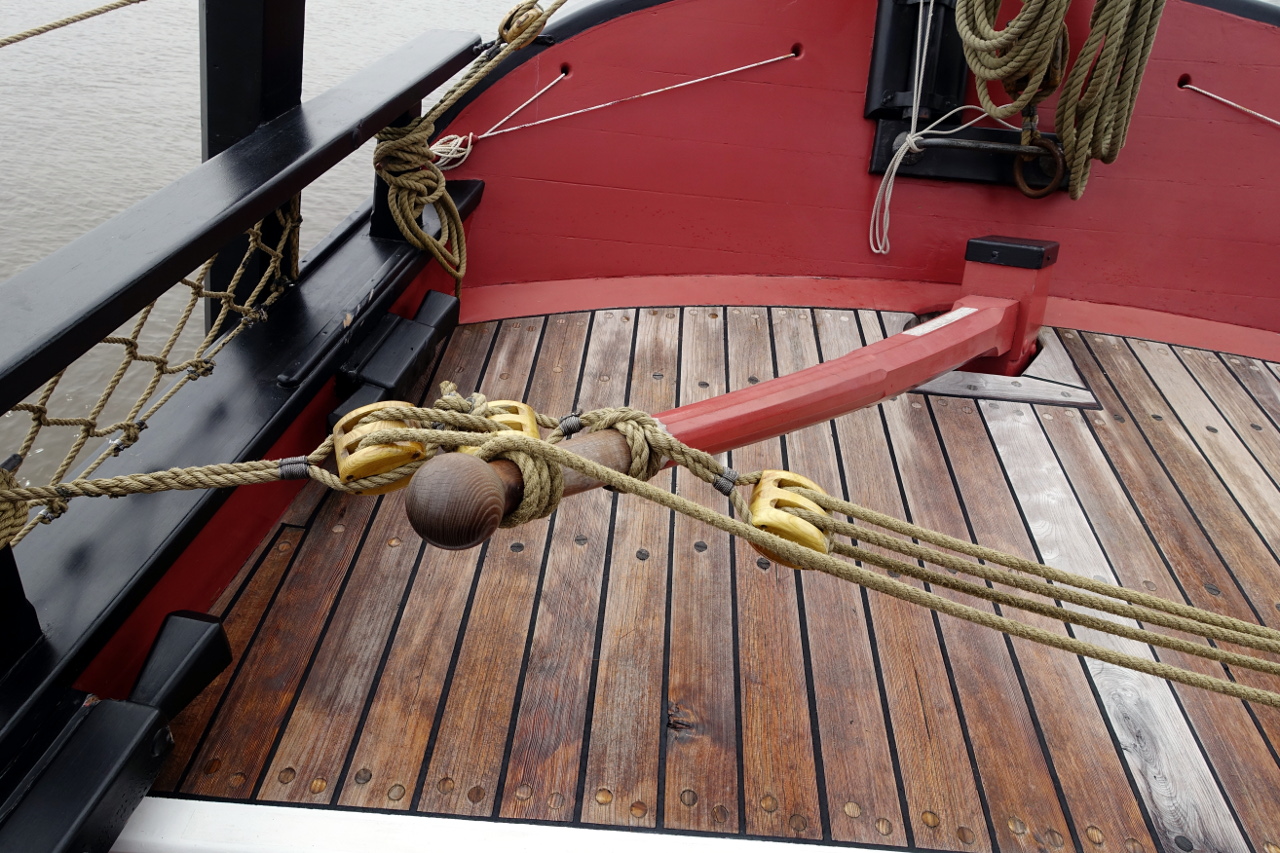
Here is a reference photo I took of Sultana’s tiller.