It’s time to think about the deck. Here is my foot, taking a very scientific measurement. The deck planks, caulking included, are a little over two shoe lengths. That’s… um, (multiply by the scaling factor, carry the three), how wide?
Better yet, I’ll consult the appendix in the Schooner Sultana book. The appendix says the deck planks are 5 inches wide. At 1:64 scale, that’s about 2mm. I’ll be using 1/16″ x 1/16″ strip for the deck planks, which is close enough.

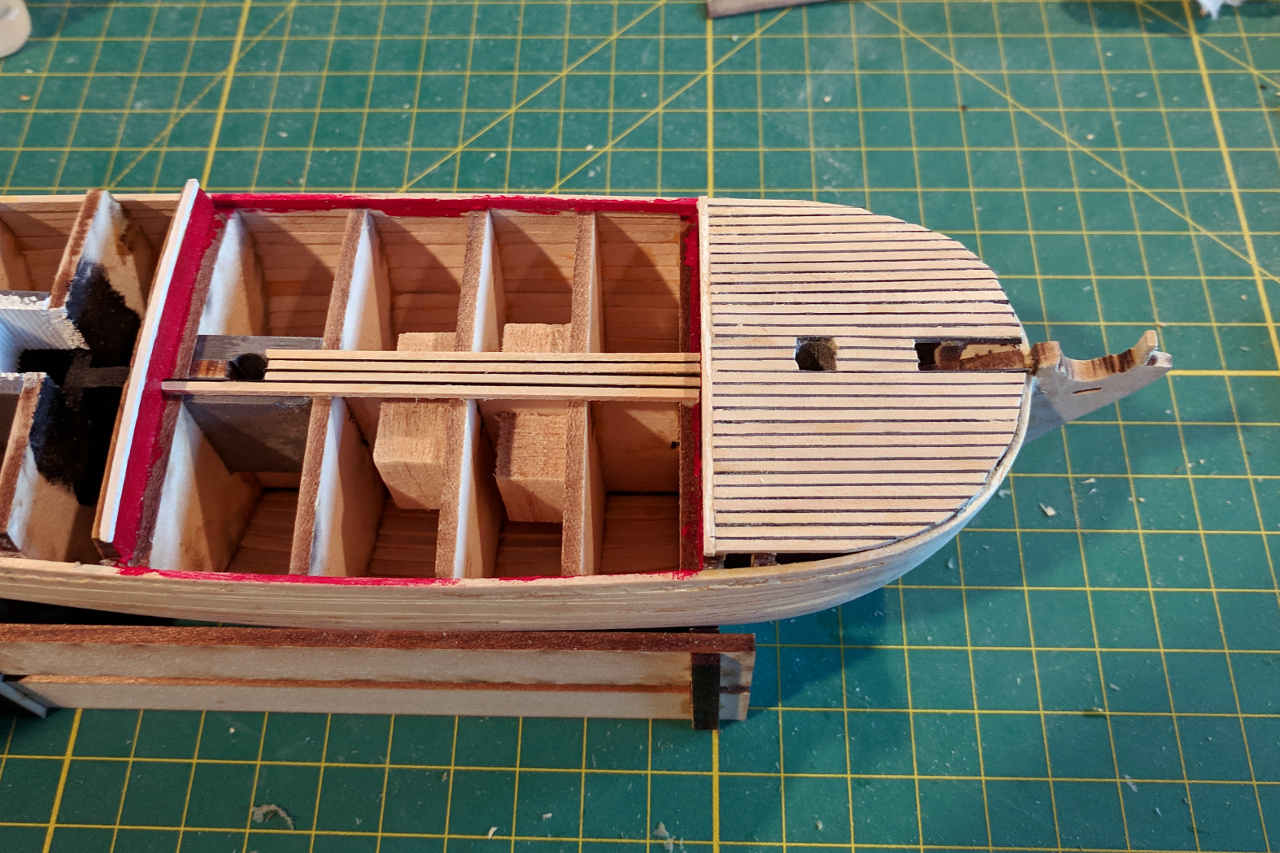
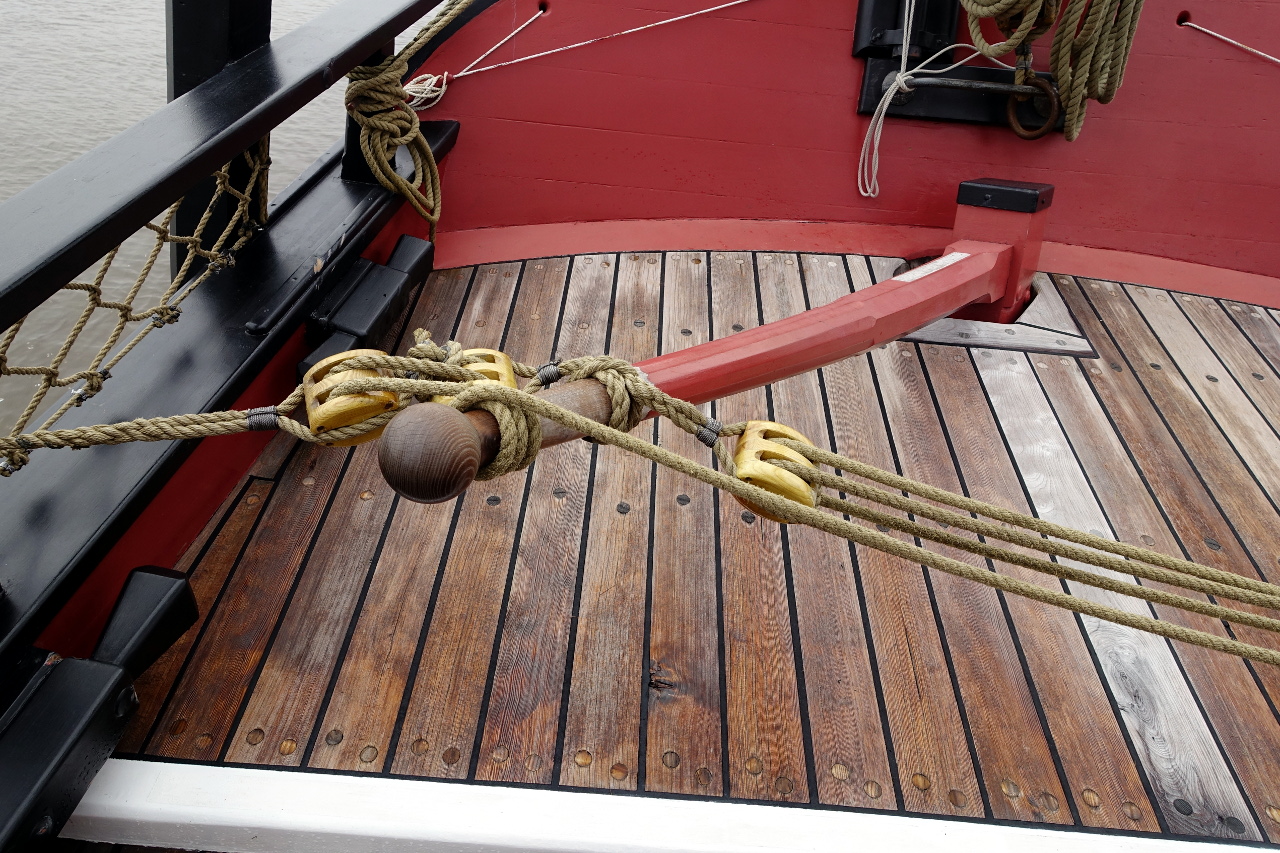
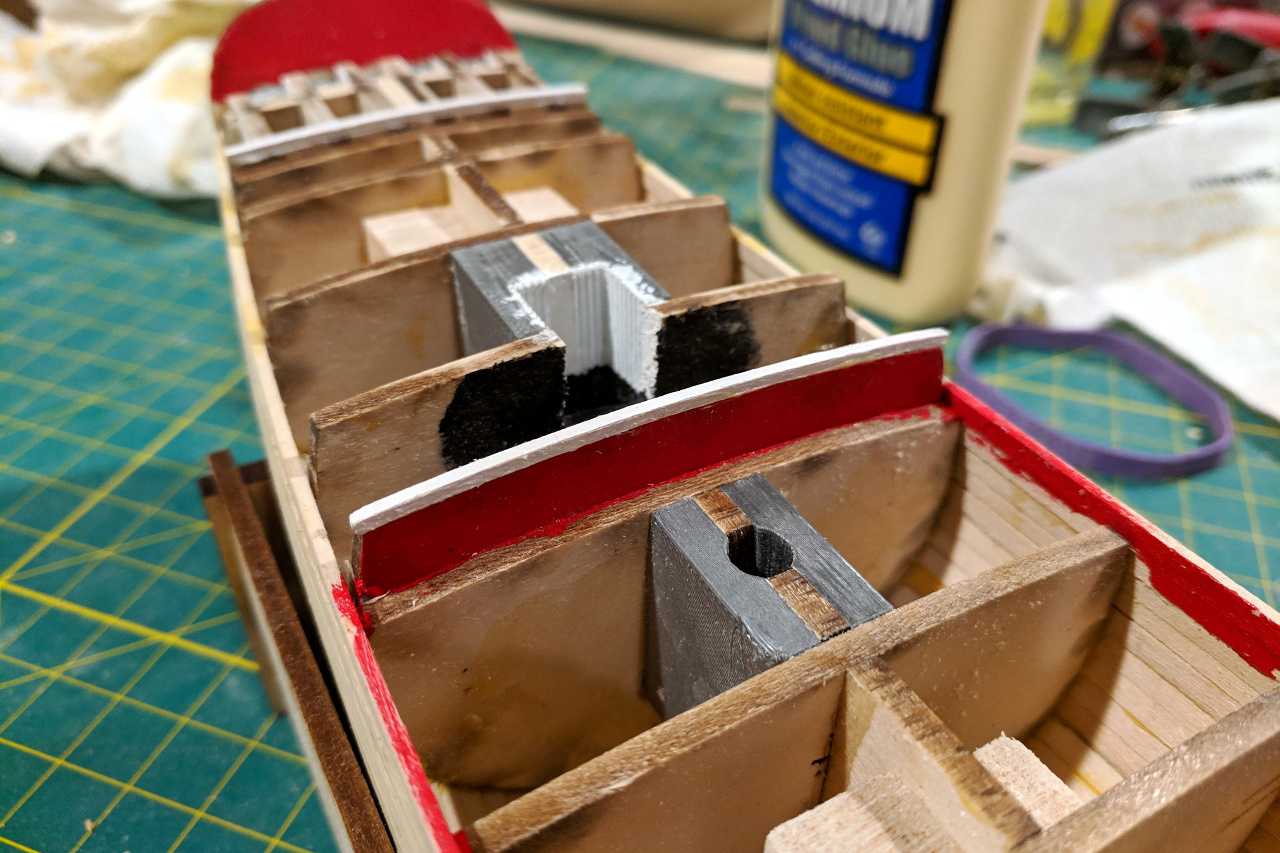
A few other things to note: the inner bulwarks, transom, and other surfaces are painted red. At all deck level changes, there is a white strip. There is a deck plank along the center line, rather than planks on either side of the center line.
I have checked multiple pictures and confirmed that, even at the longest part, all deck planks are continuous; there are no breaks. That means there will be no butt-shift pattern.
Lastly, note how thick and dark the caulking is.
I have added red paint where needed and white strips at the edges of each deck. The white strips are 1/16″ and the bulkheads they lay on are 1/8″, so there is still enough surface for the ends of the deck planks to lay on.
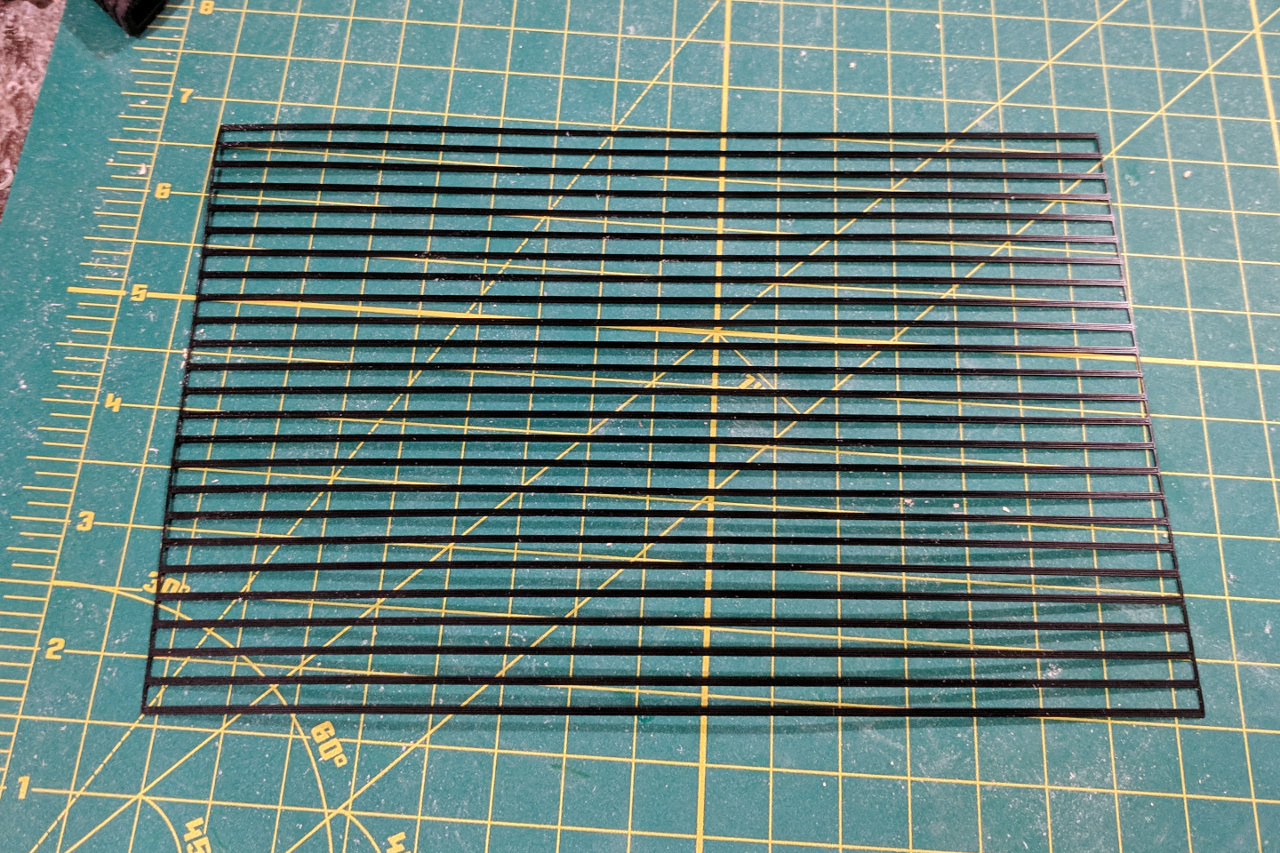
I want to replicate the thick, dark caulking between the deck planks. Imagine if I had strips of black plastic that were as thick as the decking strips and just wide enough to create a nice thick black line between planks. About .4mm will do.
Anything I imagine I can model in Fusion 360.

And after loading black filament, it’s 3D printed.
Starting to plank the deck. My procedure is to cut some 1/16″ x 1/16″ strip to size, and cut some black plastic to match. I add glue to the strip and put it almost in place, then carefully slip the plastic into the gap. Then push the plank firmly into place.
The rough edge at the front will be filed down to a nice curve to accept the bulwarks, which will be added later.

The forecastle is done. Starting to plank the main deck.