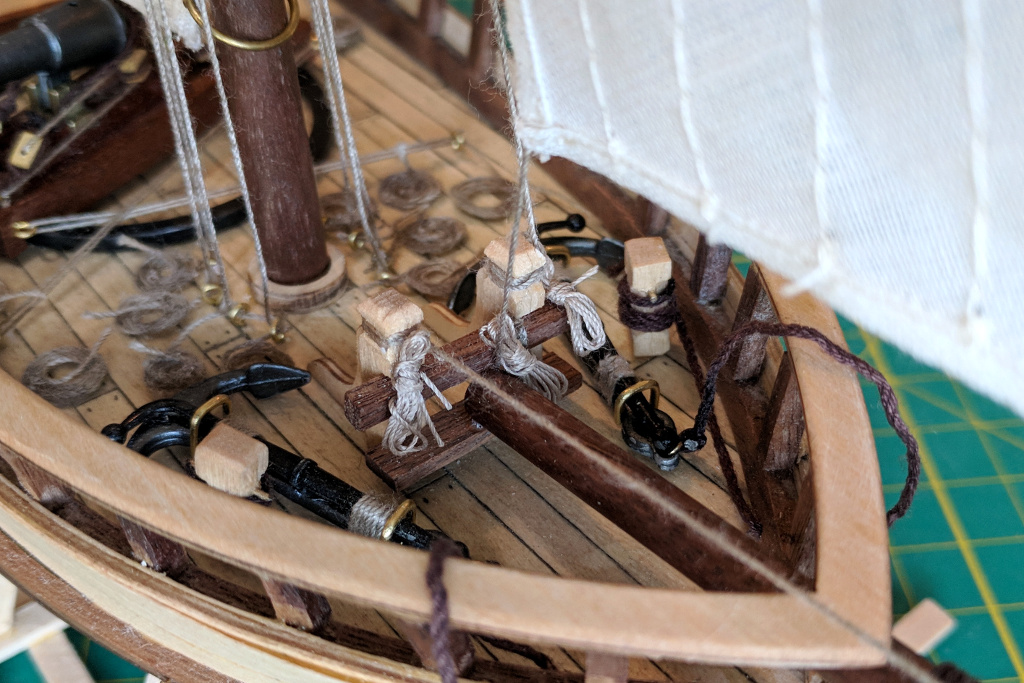
Rigging was adjusted and tape was used to apply tension to the lines. With the lines secured in this way, a drop of CA glue was used to hold each line in place, and the excess material was cut off.

Rope bundles were added at various points where lines were secured.
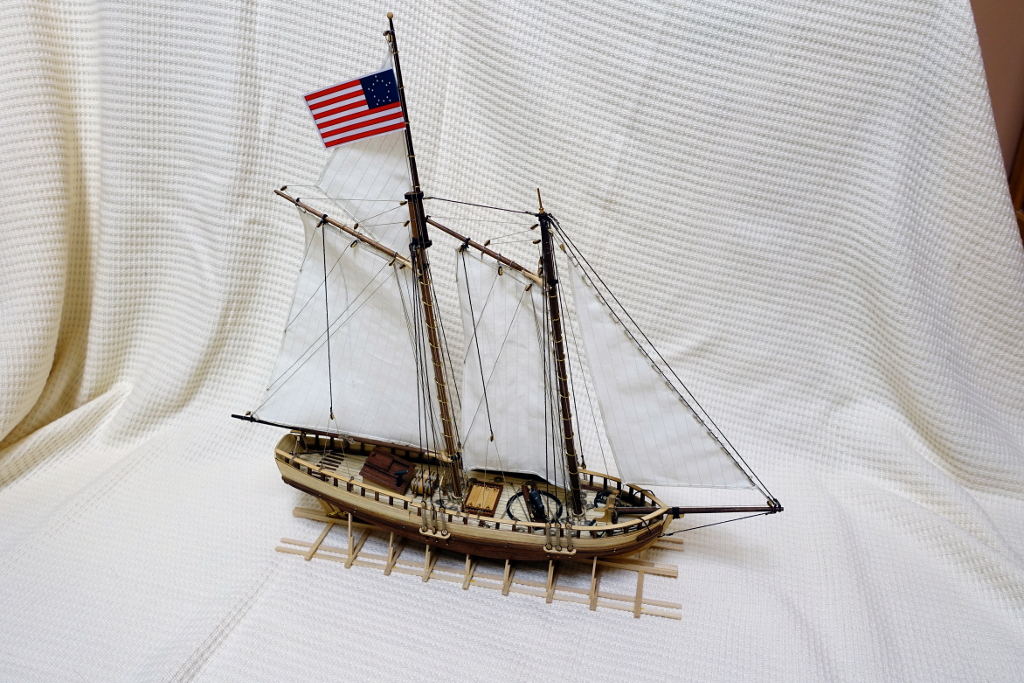
Put a flag on her and she’s done.

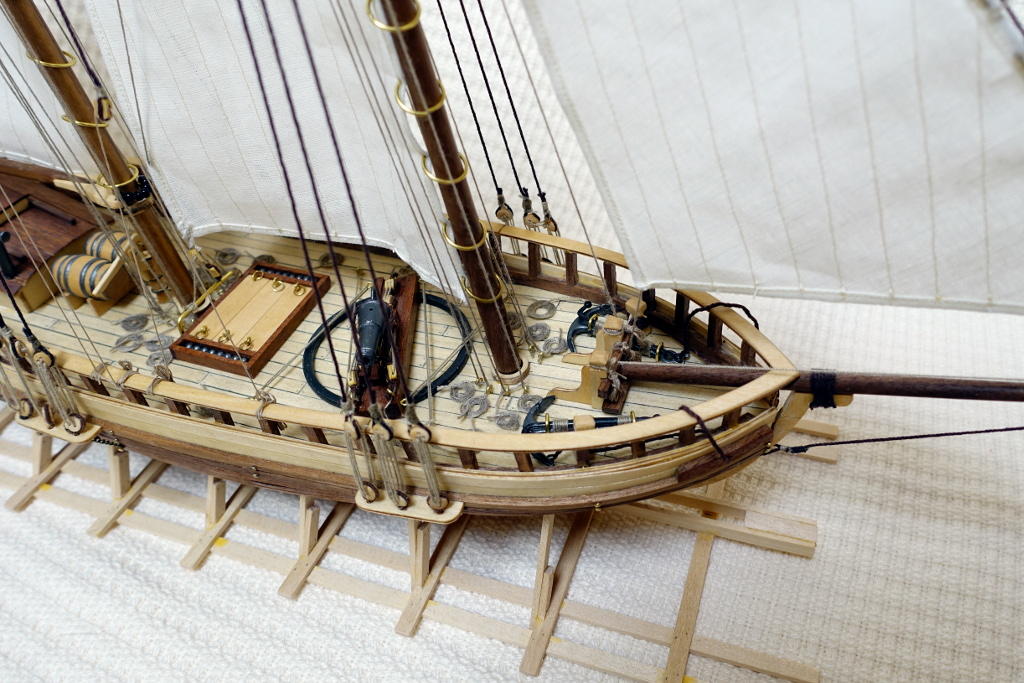
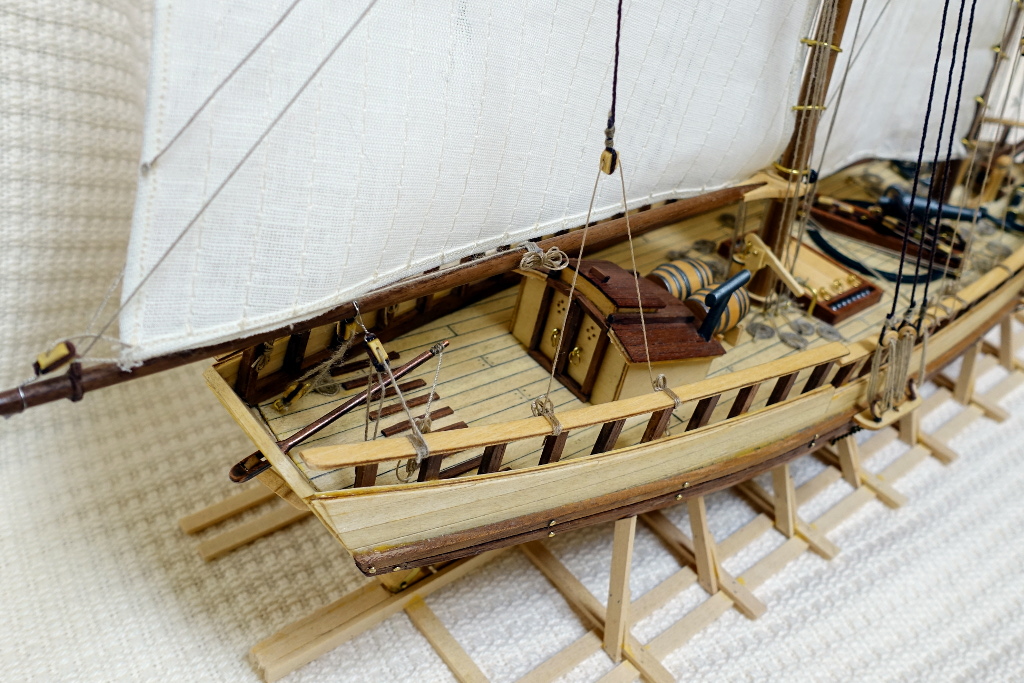
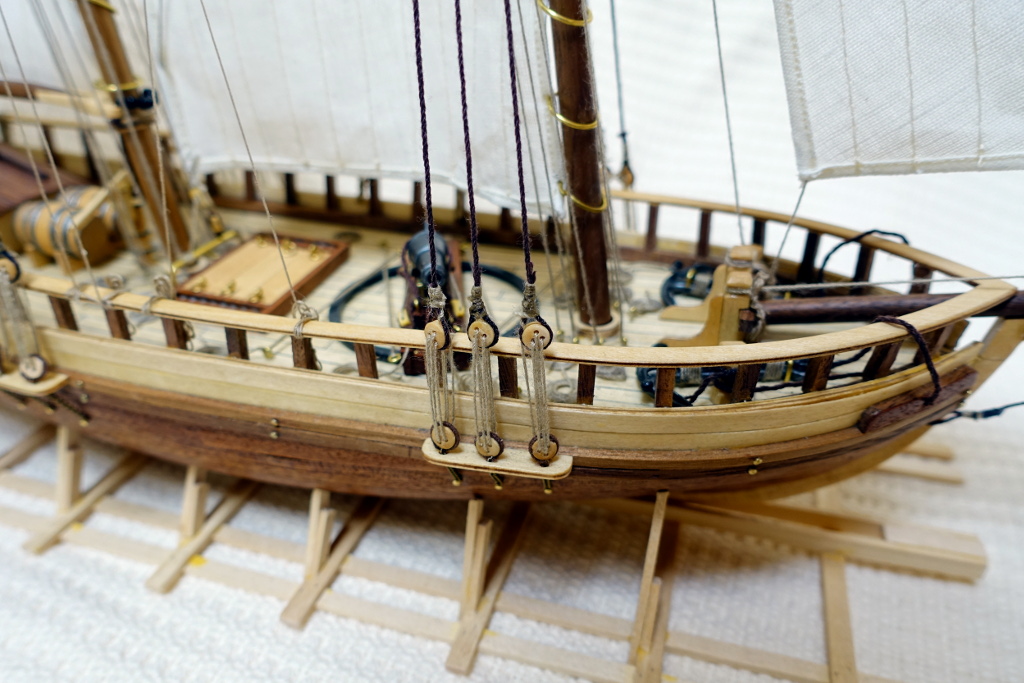
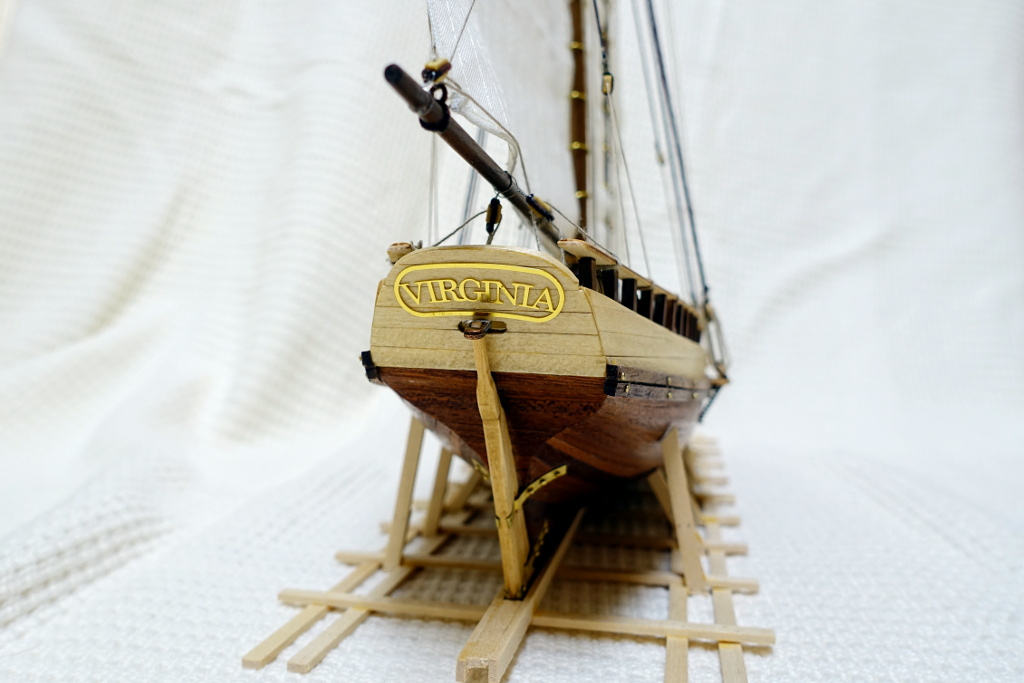
Some shots of the completed model.

Amazing! Well done! I’ve bookmarked your page as I am going to purchase this kit and follow your build. Thanks in advance! Do you think this is suitable for a beginner as a first build?
Yes, it’s good for a first build. Only a solid hull kit would be easier. The most difficult part is the planking, but that’s something you must learn to progress to more advanced models.
thanks Peter! which tutorial did you follow for the planking of the ship?
There are some good tutorials in the articles section of Model Ship World. I recommend that you sign up to the forums there, which are very active. In the forums, you can find several build logs of the Virginia 1819 kit.
Thanks Pete ! Finished ! You were a great help with this build. I will never get an Artesania kit again. Very few instructions and worse yet no blueprints. This kit came with a CD instead. Also the sails supplied where the wrong sizes. This is my 6th build. This kit is not good for anyone. To much aggravating and lost time trying to get the details correct.. The boat looks great but the kit is horrible. If this was my starter boat it would have been unfinished and the last. My mistake for not buying a North American produced kit. Thanks for your helpful information.
Mike