Here are some shots of the planking / caulking procedure. I first cut a length of strip to just larger than the required size, then slowly sand one end a little at a time until it fits perfectly. Then I cut a matching length of the plastic. Glue is applied and the strip is added as shown below, with a tiny space between the old and new strips.
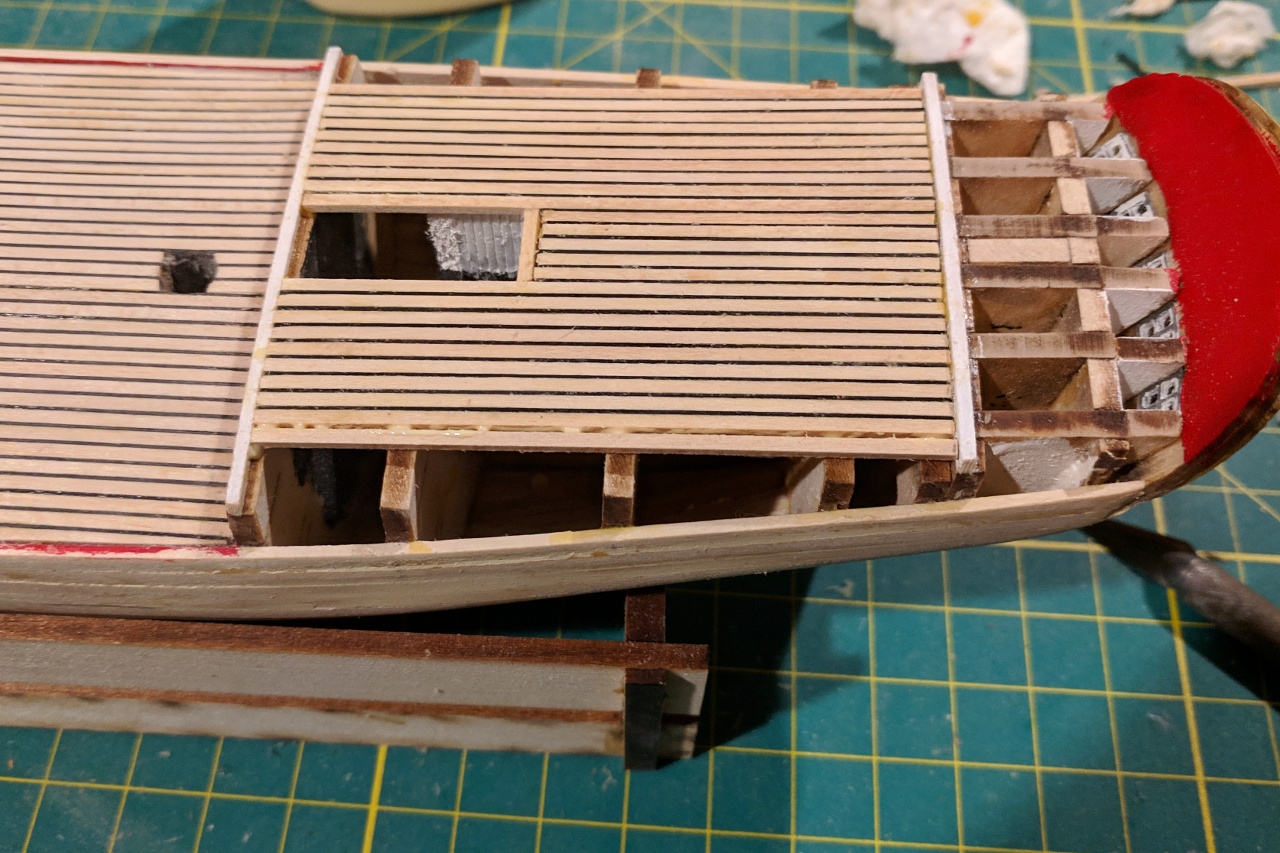
Then the plastic strip is put into place between the two deck planks. I start at one end, then run my finger down the length of the strip. After that, the deck plank is firmly pushed into place and excess glue is removed.

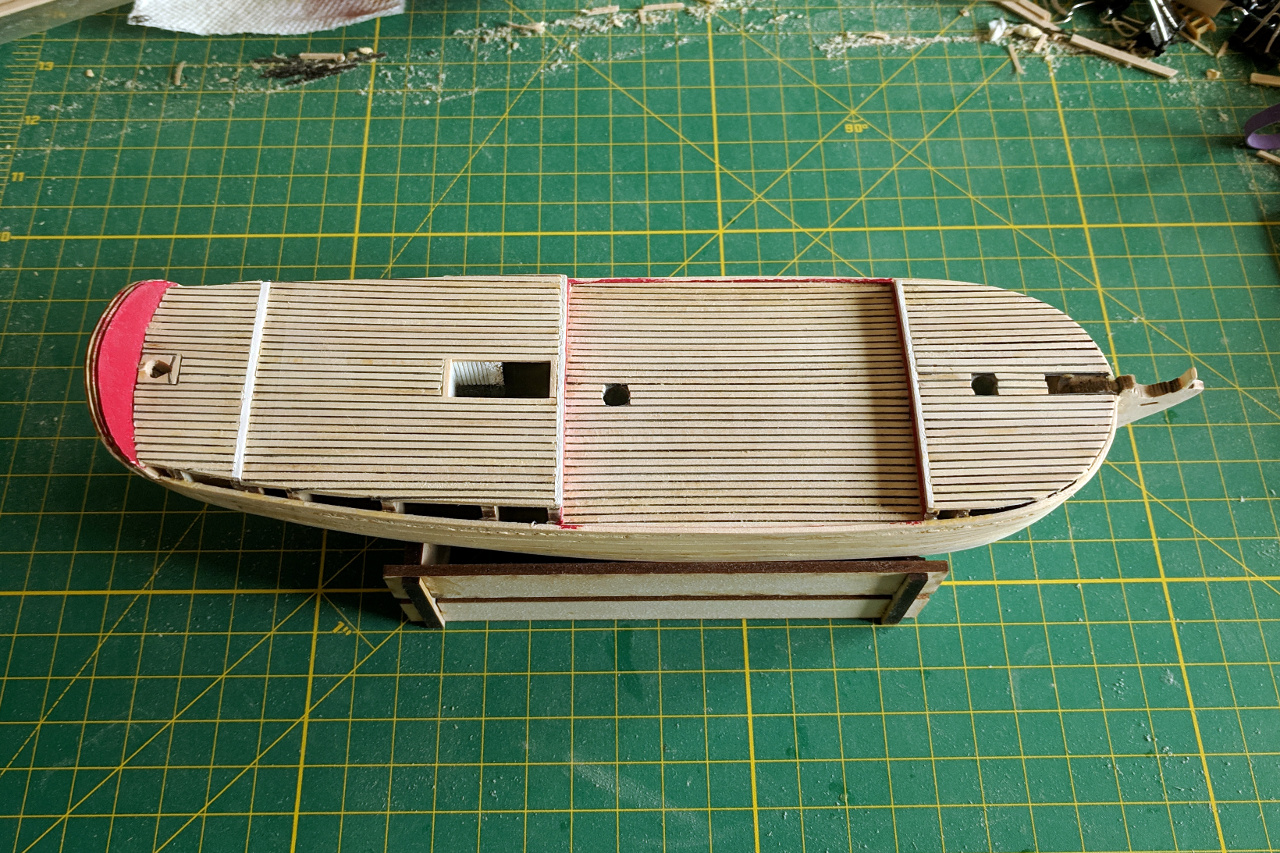
And at last the deck planking is complete.
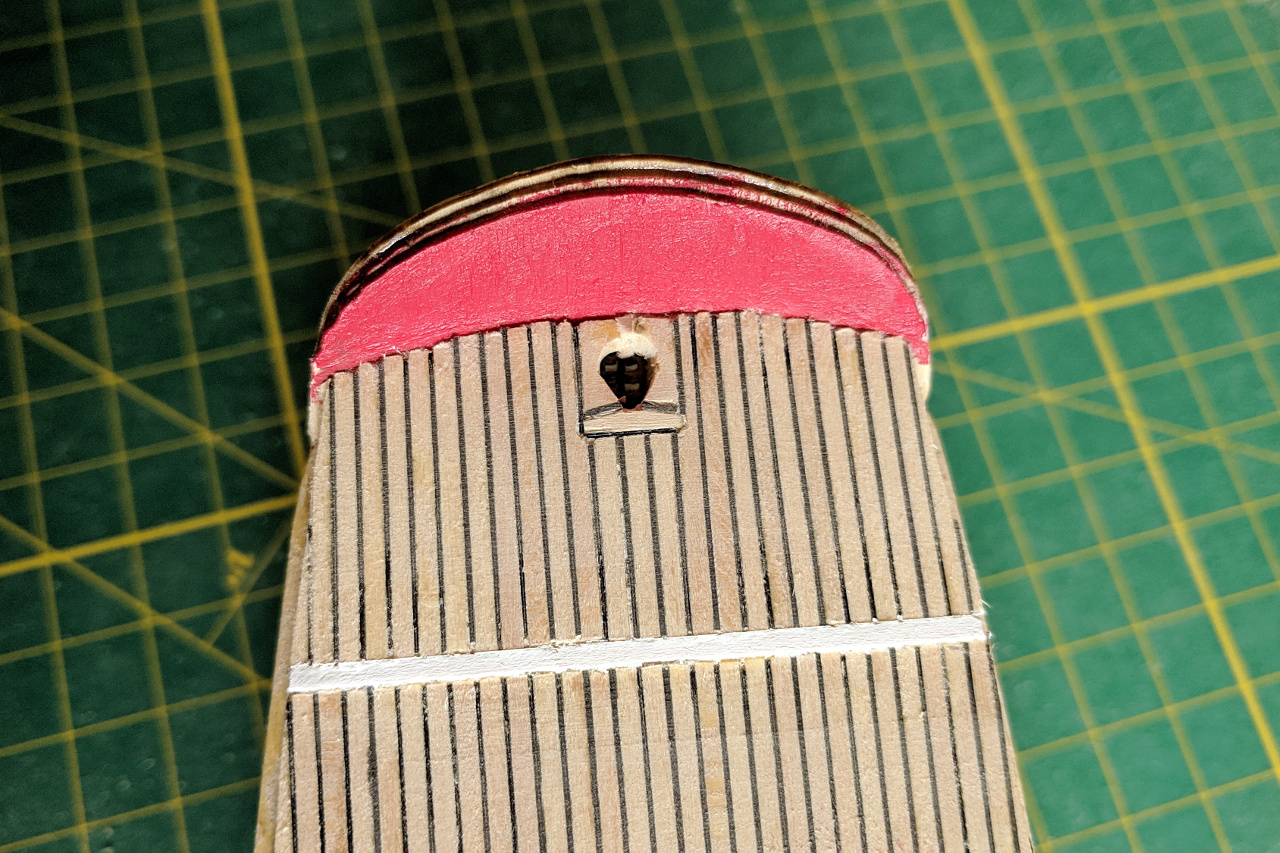
One particular challenge was the hole for the rudder. This picture on the site ship25bsa.smallsquareddesigns.com was especially helpful in creating the detail of the hole.
Next I need to decide how to handle coloring the deck and adding trenails.