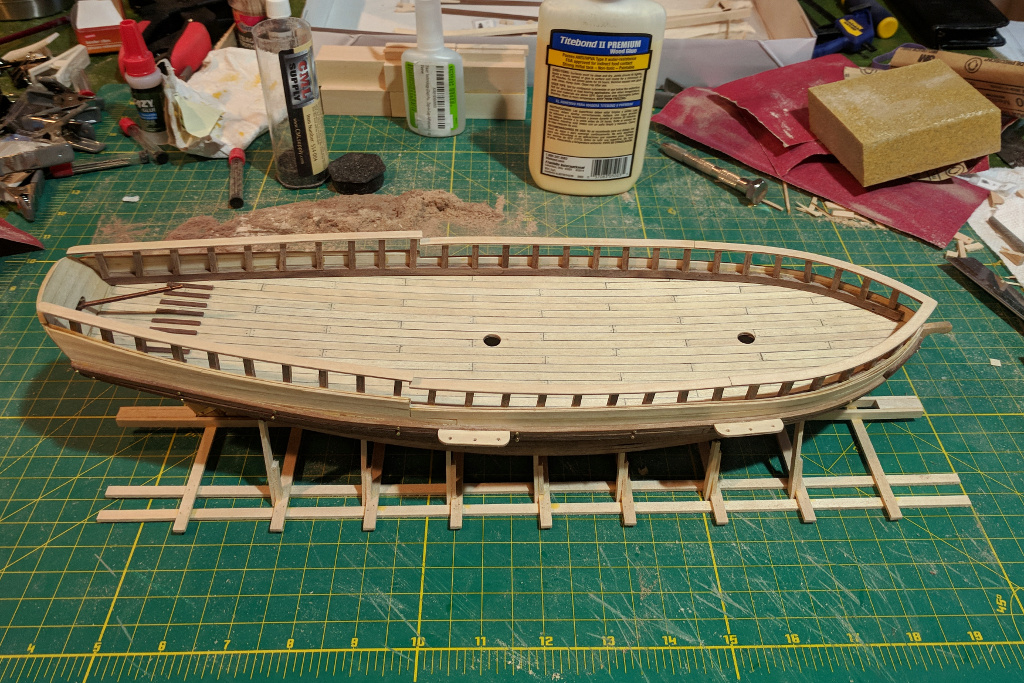
I cut out the required stanchions, one set of 38 at 14mm for the forward railings and 20 at 17mm for the aft railings. A jig made it easy to cut pieces of equal size. Starting at the bow, I glued the stanchions in place, using the spacer pictured below for even spacing. In spite of the proper spacing, I only used 34 of the shorter stanchions.

Even though I did my best to keep each stanchion of equal height, it was necessary to sand them down to create an even surface for the railings. After gluing the railings on, I was unhappy with how the railing piece at the bow curved upwards, so I removed it (breaking off a few stanchions in the process), and sanded things down even further at the bow so that the bow railing would lie more flat.
The channels were also glued on at this point.
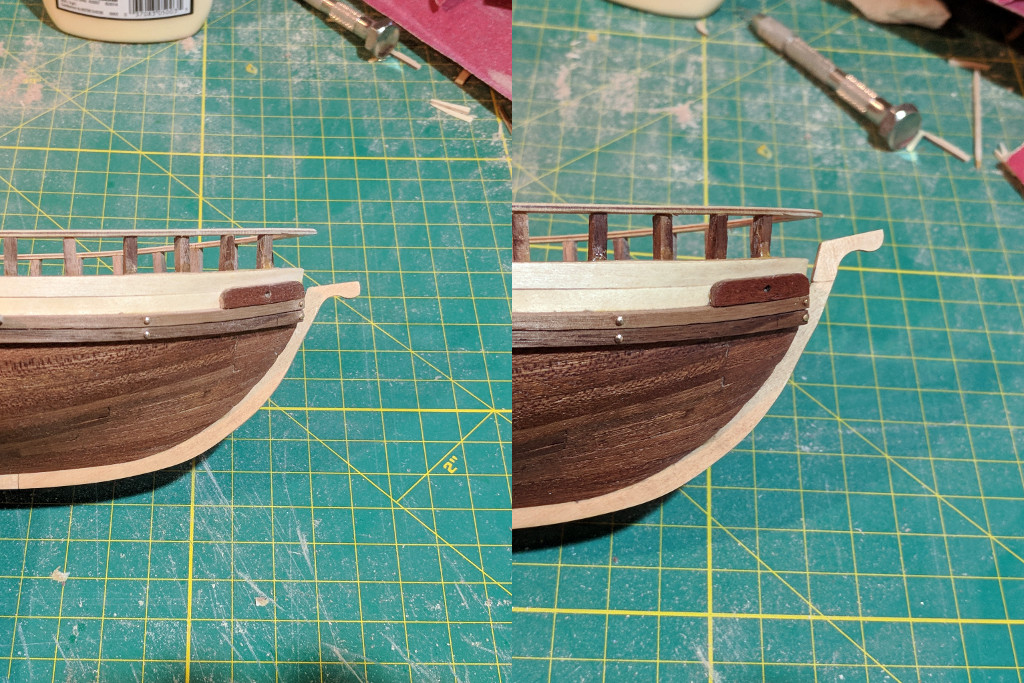
While checking the railing height, I noticed on the plans that there will be a line running from the bowsprit bitts, over the top of the railing, to the end of the bowsprit. Even though I lowered the railing a little, it was clear that this line would be obstructed by the railing. Soon it became clear that I had made a mistake weeks ago by gluing the stem too low. As it was, the bowsprit would lie nearly horizontal. With much anxiety, I cut off the end of the stem, fashioned a new one, and glued it in place.
With the major surgery on the stem complete, I gave the model another coat of polyurethane. After that, I could finally start attaching various pieces of deck furniture and eyebolts to the deck.
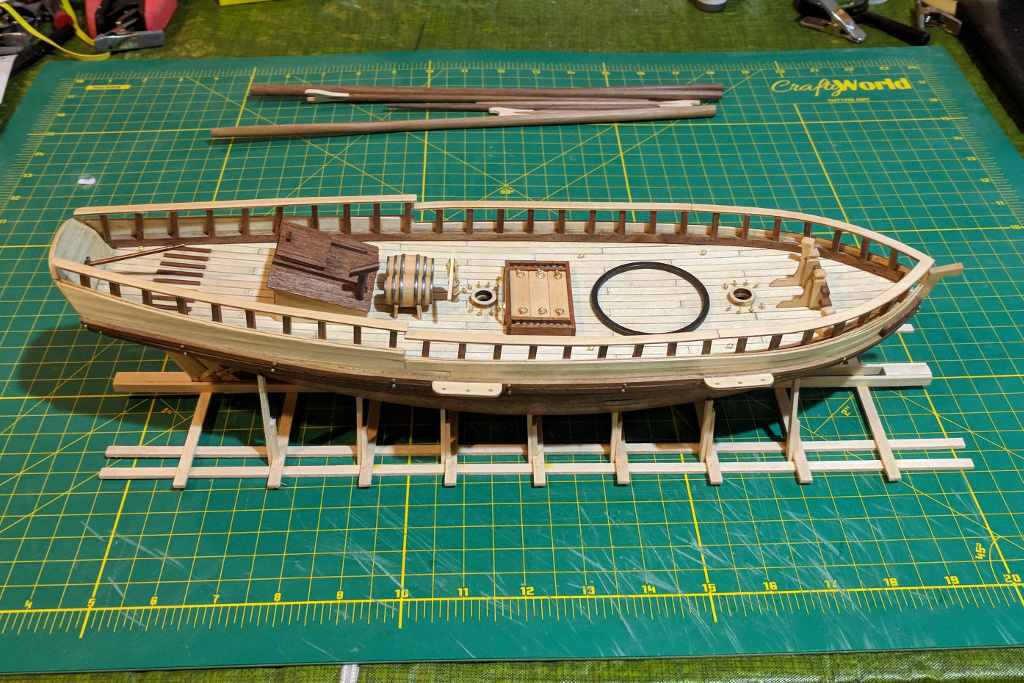
I realize that I have hit another major milestone: all the woodwork is done. Almost all the work from this point forwards is rigging.