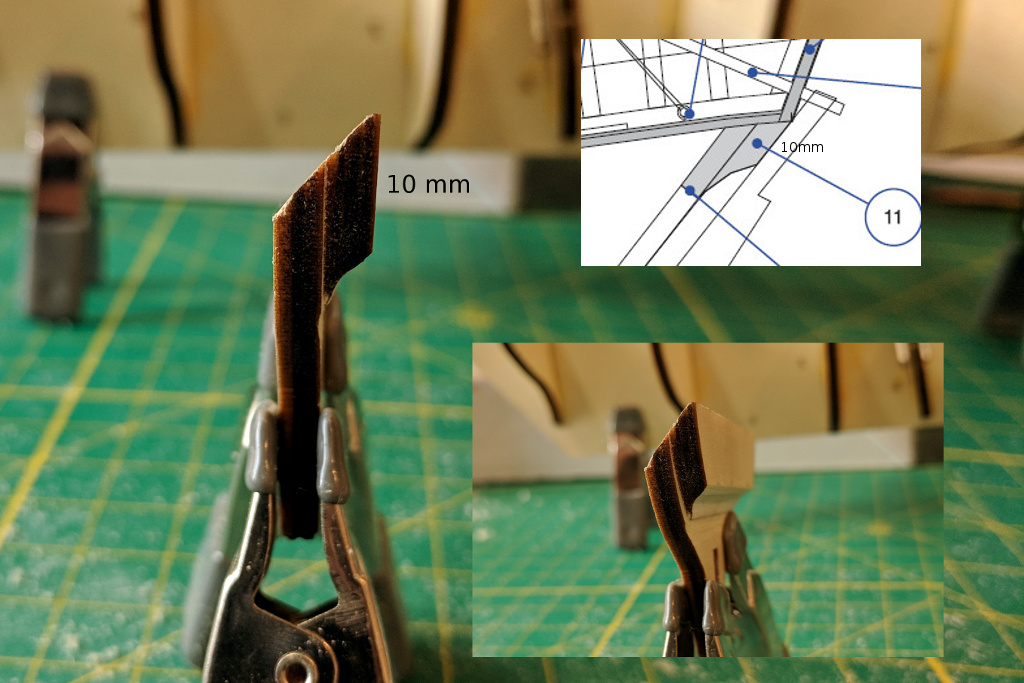
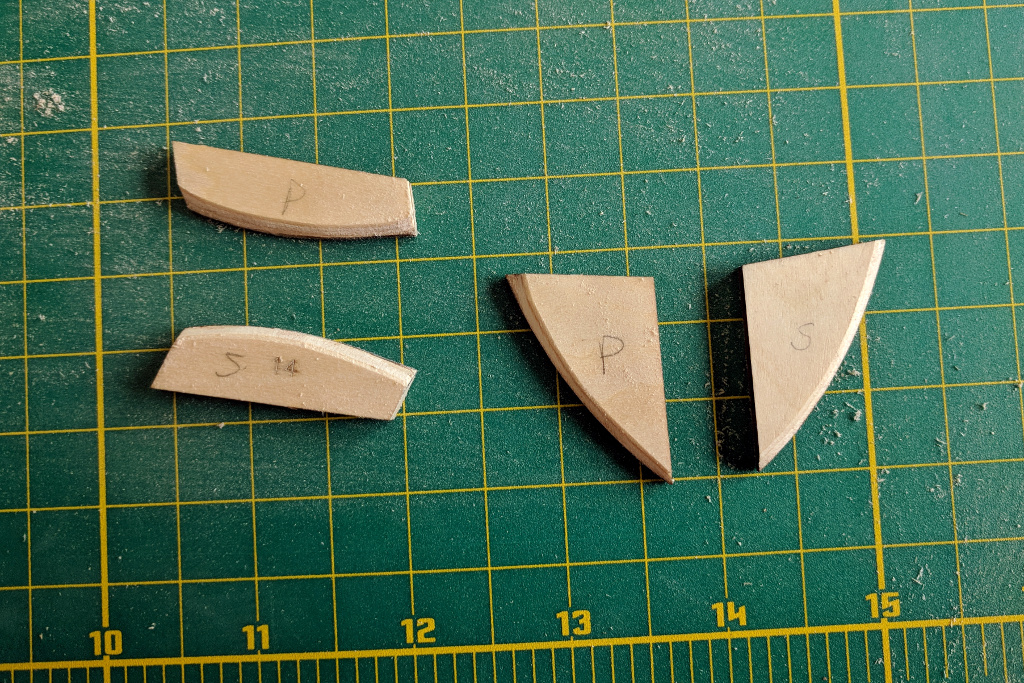
The directions were very unclear about the precise shape of the combined pieces which will go at the stern under the transom. The directions say to file / sand a curve into the piece. In the insert on the picture below, you can see the piece as it appears on the 1:1 plans. The flat edge to the right, above the curve, measures 10mm. You can see how I tried to shape my piece to match.
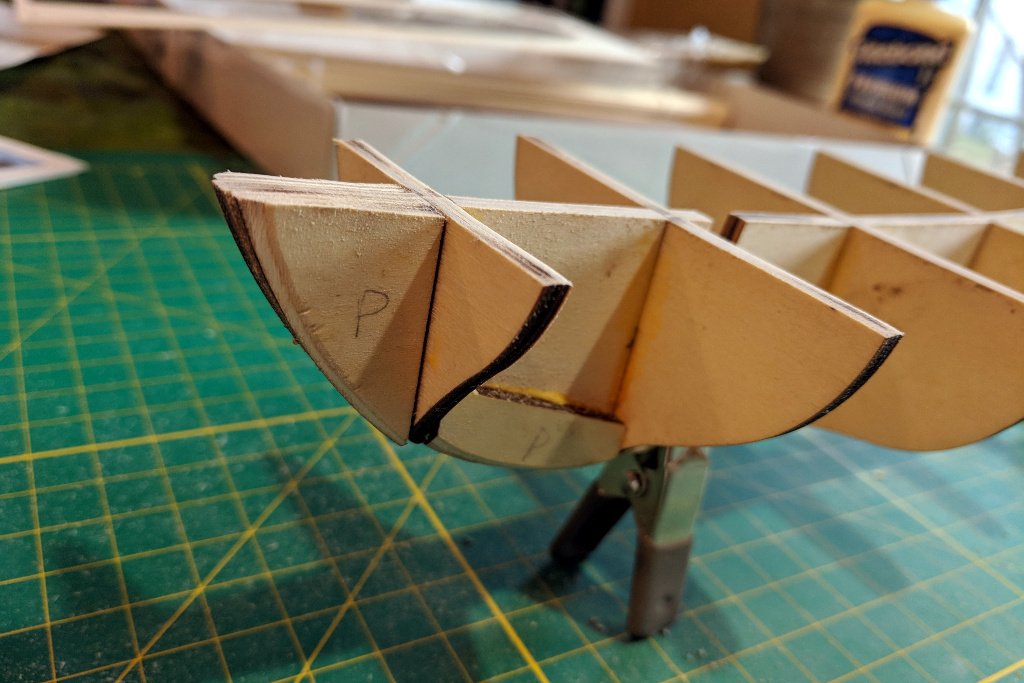
However, while test-fitting it, I could see that the upper part of the sternpost would not fit properly.
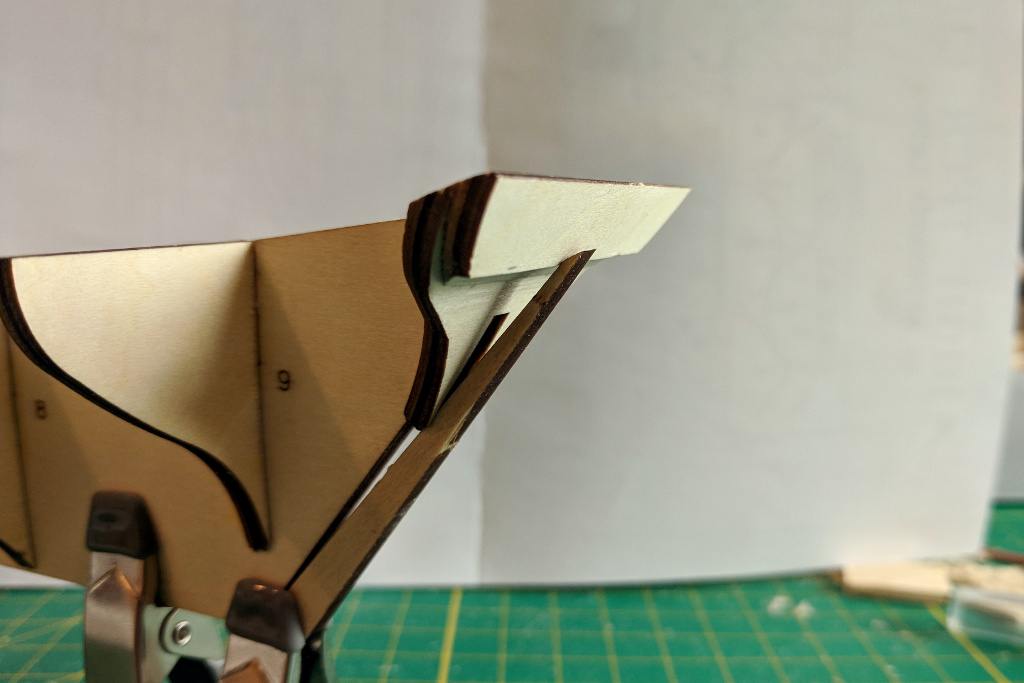
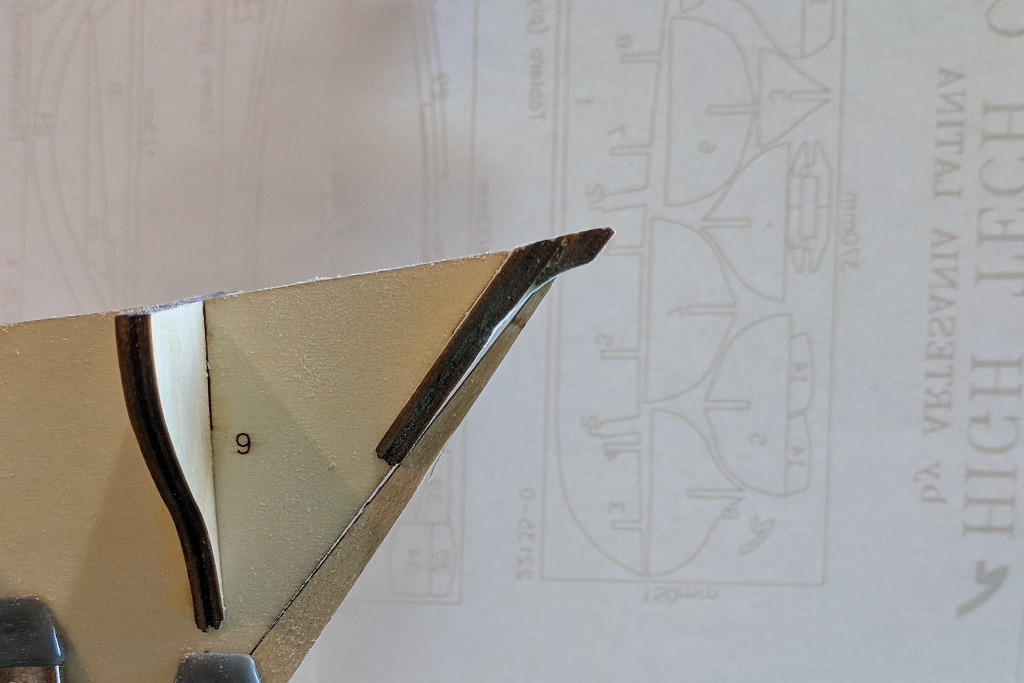
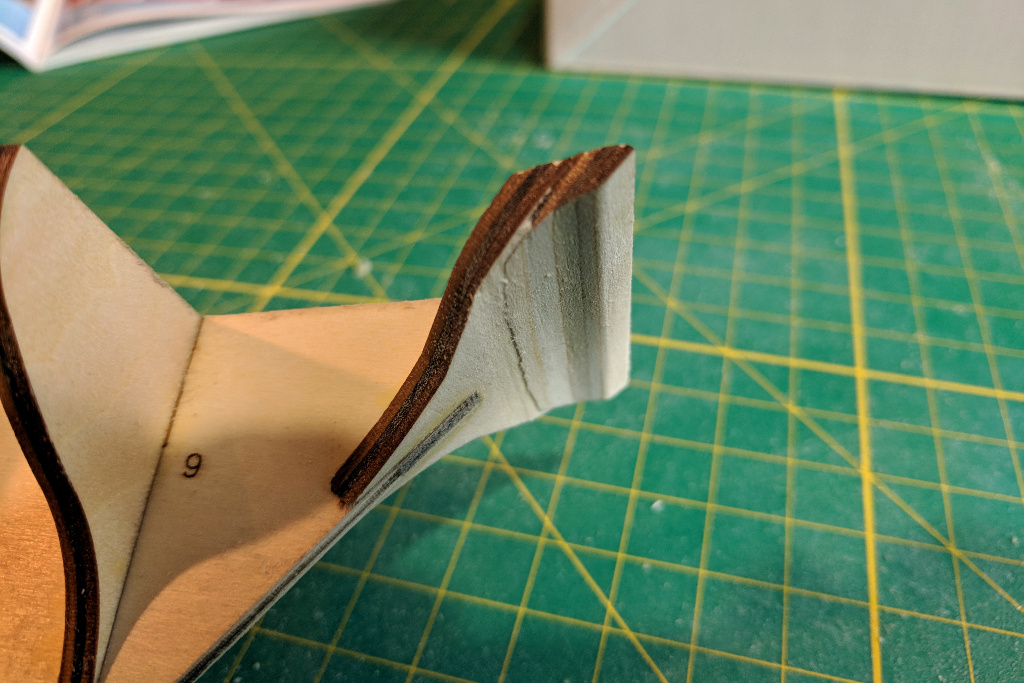
I checked through several build logs for pictures of the same piece, and they confirmed my suspicions that it wasn’t right. I needed to remove more material, making a shallower curve that would allow room for the top of the sternpost. After test-fitting it, it looked a lot better.
Next I cut out and test-fitted the knighthead pieces. It was clear the these would be trimmed during the fairing of the hull, so I preemptively sanded off a little material on each one.
The knighthead pieces were glued into place.
And the pieces under the transom were glued into place as well.
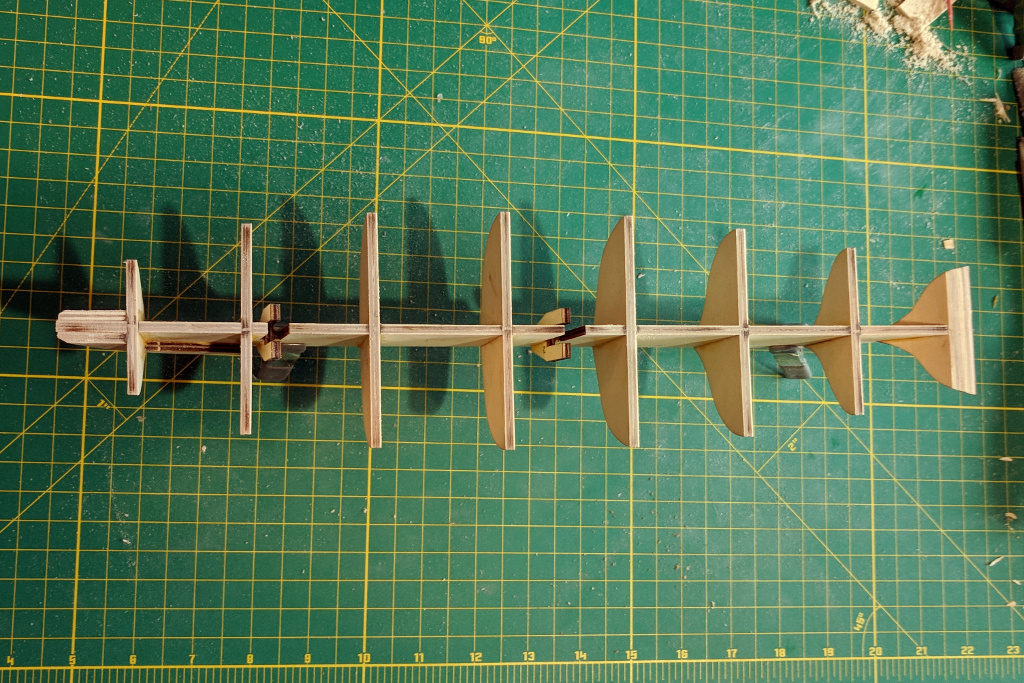
And everything is square and ready to accept the subdeck. I am debating whether or not to add some filler blocks at the stern to help establish the form of the hull in that area. I’m quite anxious about the fairing and planking of the hull, so I want to do whatever I can to make that go as well as possible.