At last it’s time for the hull planking.
The instructions call for first marking the start of the planking 5mm under the line of the deck, then planking from that point down by securing each plank in place with the kit-supplied pins. It wants you to insert the pins part way, then clip off the heads and sand down the pins when the first layer of planking is complete. As an experiment, I tried doing this with one strake. Multiple issues were immediately evident. First, there is little flexibility to the planks. Second, if the pins are not driven all the way in, there is not enough friction to keep the plank from sliding back up the pin. Third, the sheer of the deck will be difficult to match, as that requires the plank to bend up.
I removed the test plank and tried another experiment. I soaked a plank in hot water, then clamped it in place and let it dry. This helped establish the curve at the bow. However, I don’t see how I can bend the plank up at the stern. I think I may have to let the first strake below the deck lie where it naturally wants to and add some filler above it at the stern.

However, I noticed another potential problem. The bulwark pieces are supposed to sit on the first strake below the deck. Viewed from above, in the area near the bow, the plank does not come out far enough to provide a ledge for the bulwark piece to stand on. I don’t know yet how I’ll correct this.

So I figured it may be easier to start at the garboard plank and carefully adjust the thickness of the planks as I work upward. Furthermore, since I didn’t like the idea of attaching the planks with pins, I decided to try attaching the planks with CA glue. I hoped the strength of the CA glue would be sufficient to hold the planks in place in spite of the necessary bends and twists. Generally this has worked out, but in hindsight I should have been more patient. For the garboard plank, I should have soaked it, clamped it in place, and let it dry, then glued it instead of gluing it while fighting its resistance to bend.

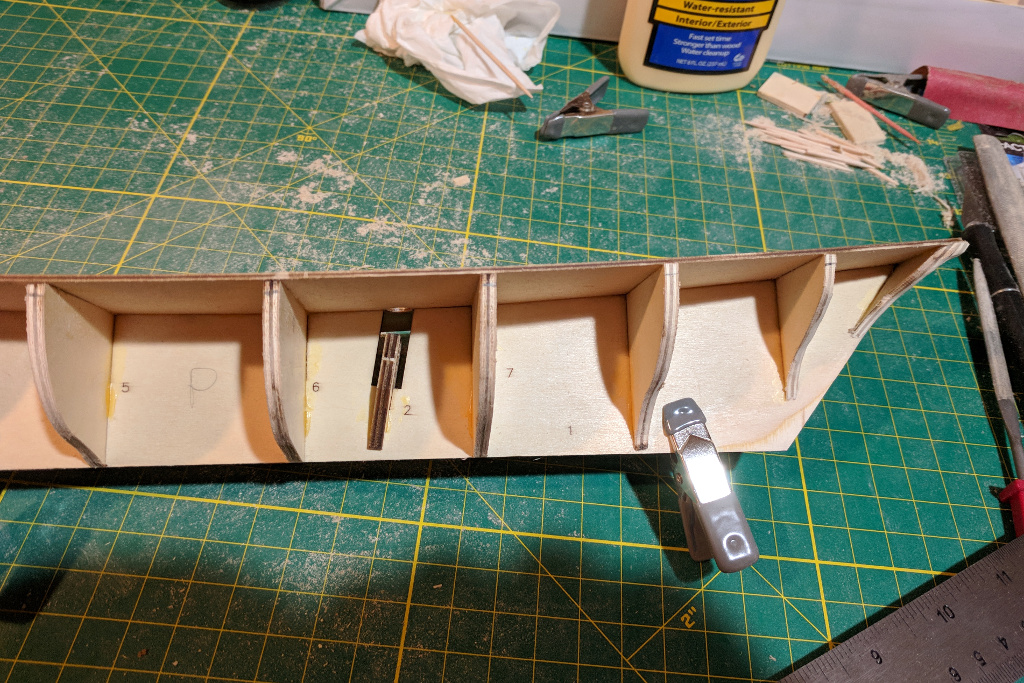
Here I am doing what I should have done from the start: letting a wet plank dry into the proper shape unglued. Then I will glue it later.
