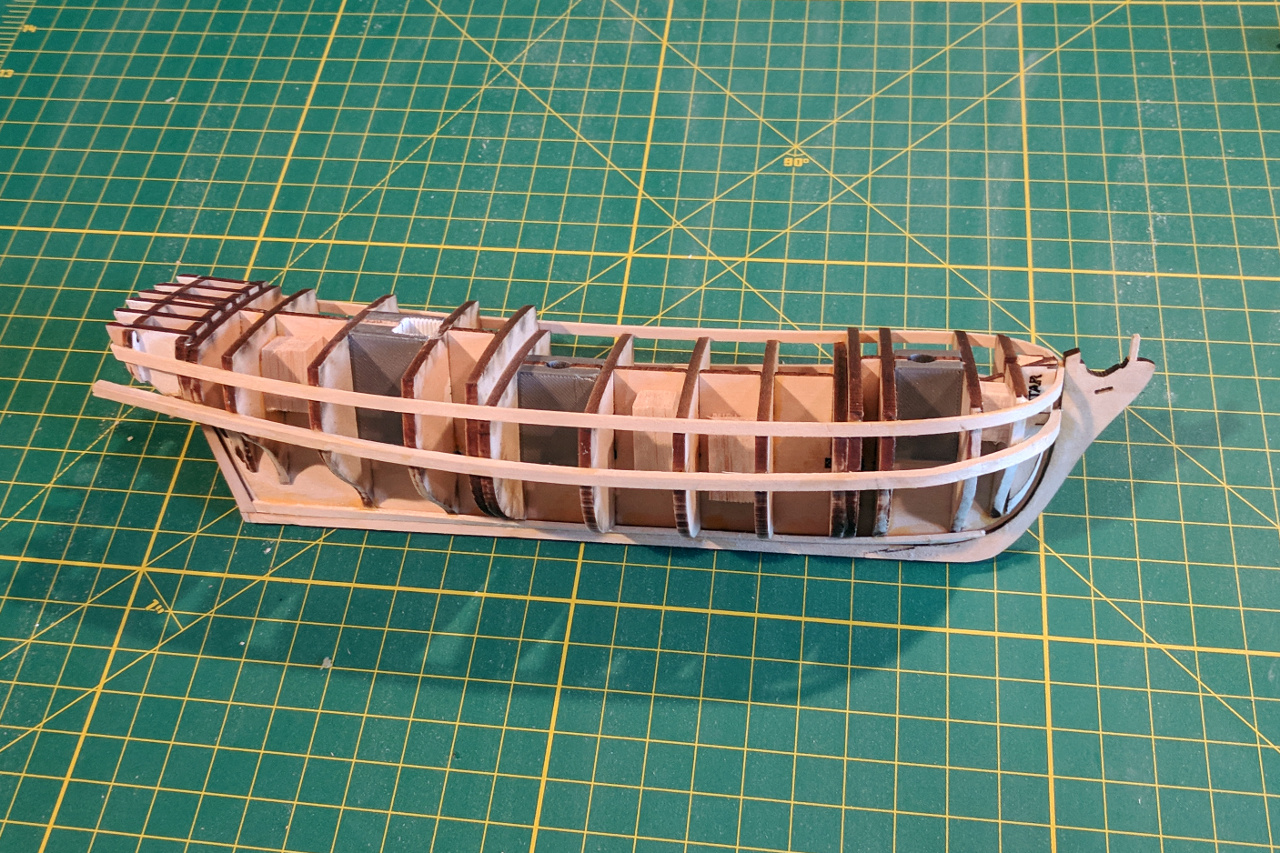
Assembly of the laser-cut pieces is complete (apart from the transom and rudder, which will be added later). Some observations:
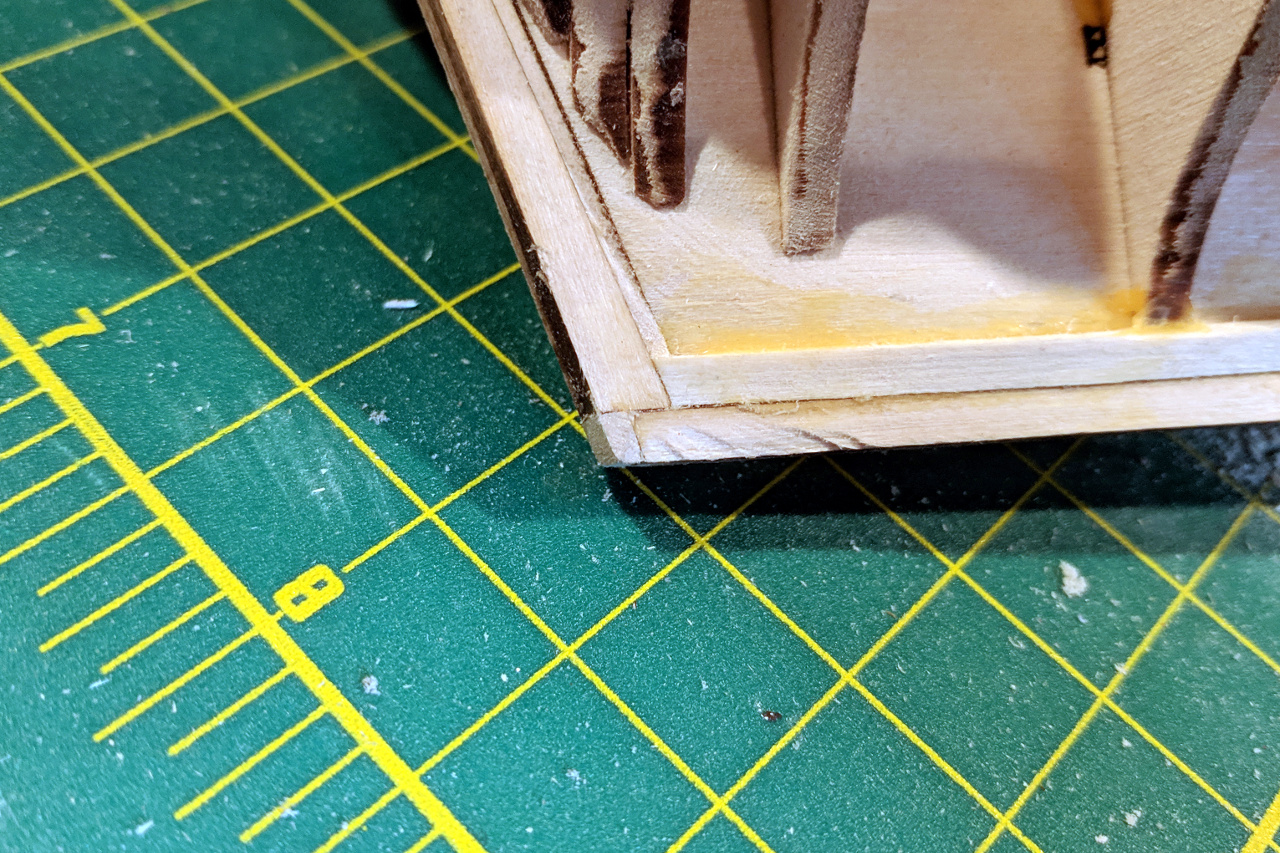
The keel ended up being a little short. I added a little block at the end to fill in the missing material. I think the error is from underestimating the thickness of the rabbet strip. (You might also notice the garboard plank there. I forgot to take a picture before that was added.)
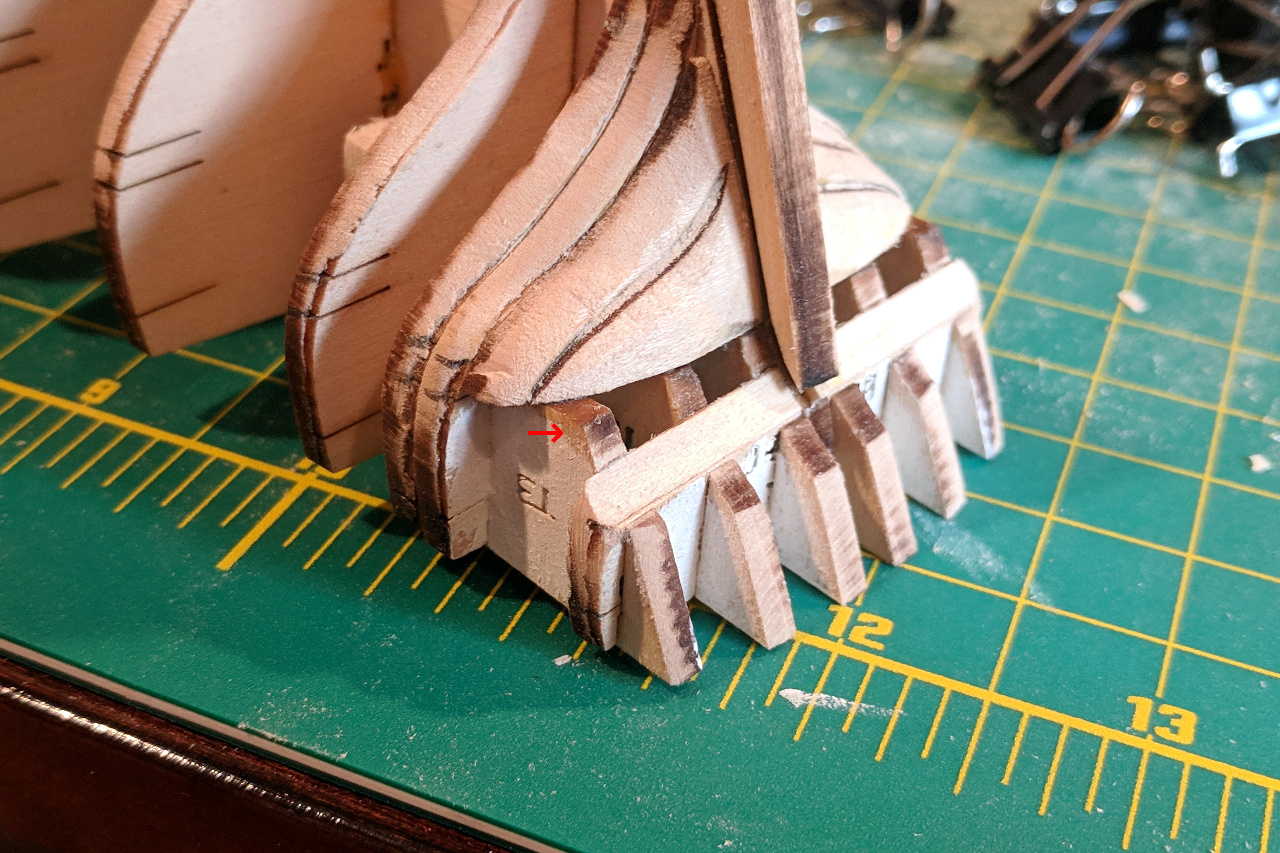
Oops. There is a little gap between the bow former on the starboard side and the first bulkhead. I didn’t notice the mistake until after the glue had dried. The port side is fine. I don’t want to reglue the piece, so I’ll just sand it down a little extra beyond the fairing line.
Note the reference marks on the pieces. The upper marks indicate the bottom edge of the bulkheads. The lower pair of marks indicate the run of the wale.

The corner of this transom piece sticks out too much and needs to be sanded down to match the curve of the hull.
And now to start the planking. As I mentioned above, the garboard was added first. The area below the bearding line was sanded down and as you can see in the first picture, the aft end of the garboard fits nicely and matches the thickness of the keel.
Next, I wanted to add the strakes which match up to the reference lines. The Schooner Sultana book states that the hull planking is 2 1/2″ thick, average 8″ wide. Scaled down to 1:64, the 1/8″ x 1/16″ strips I am using for the hull planking are reasonably to scale.
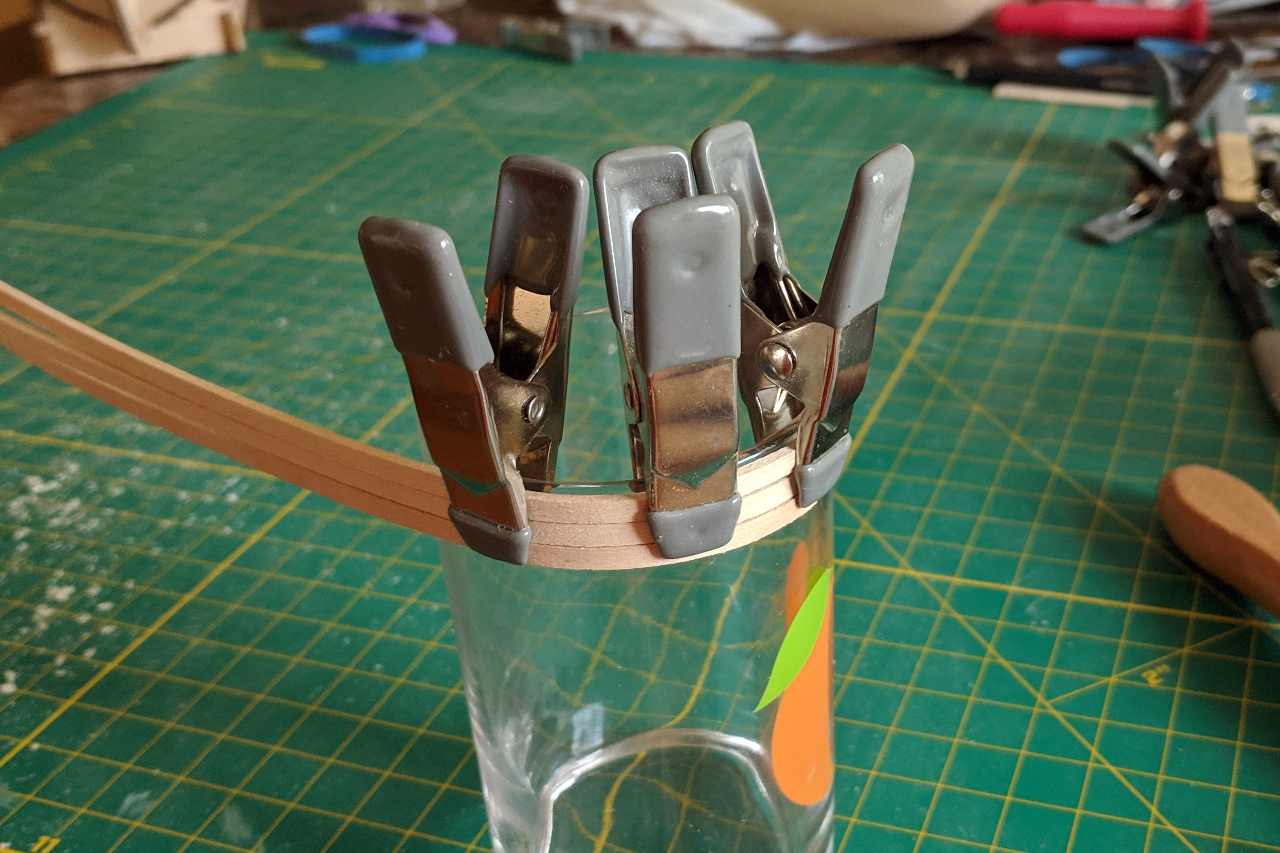
To match the curve of the bow, I wet the planks then bend them around a juice glass and allow them to dry.
And the strake below the bulwarks line is added.
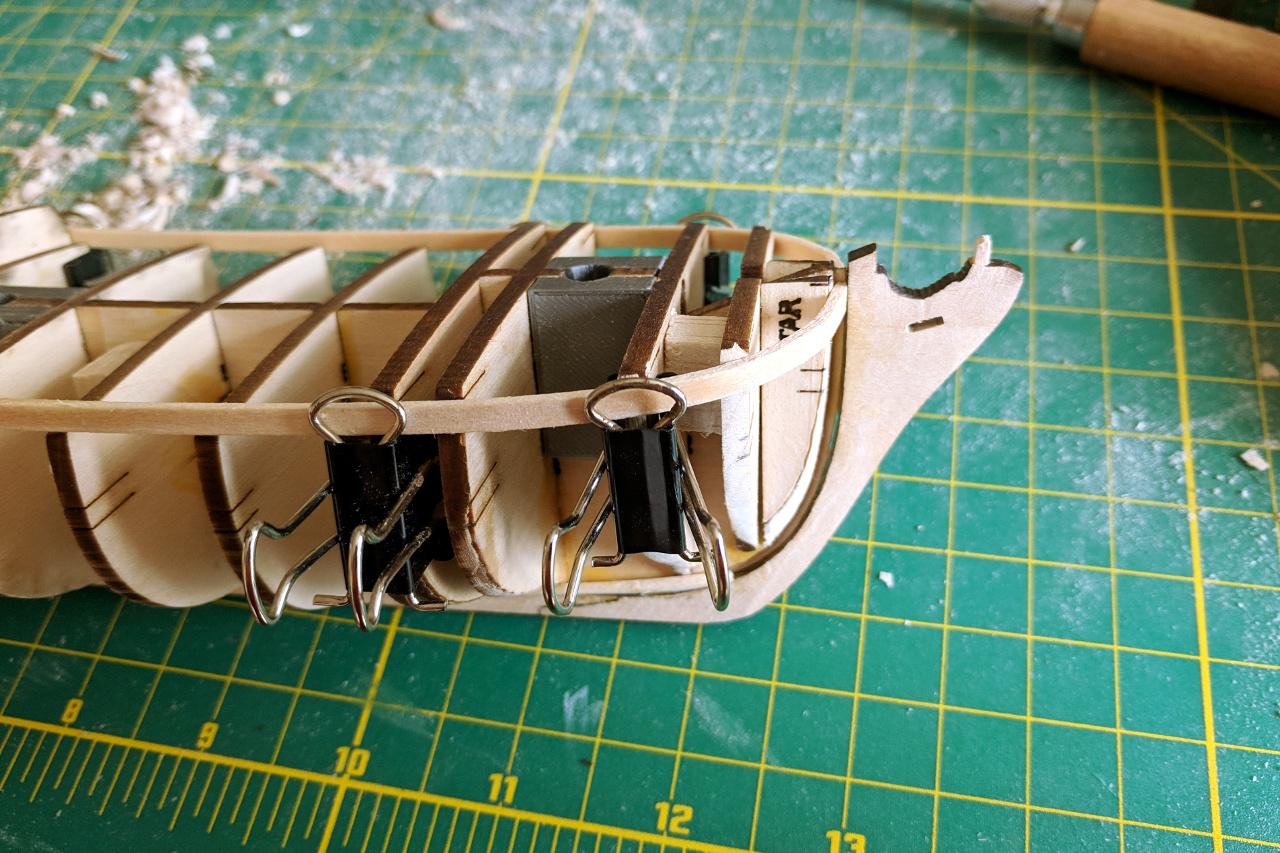
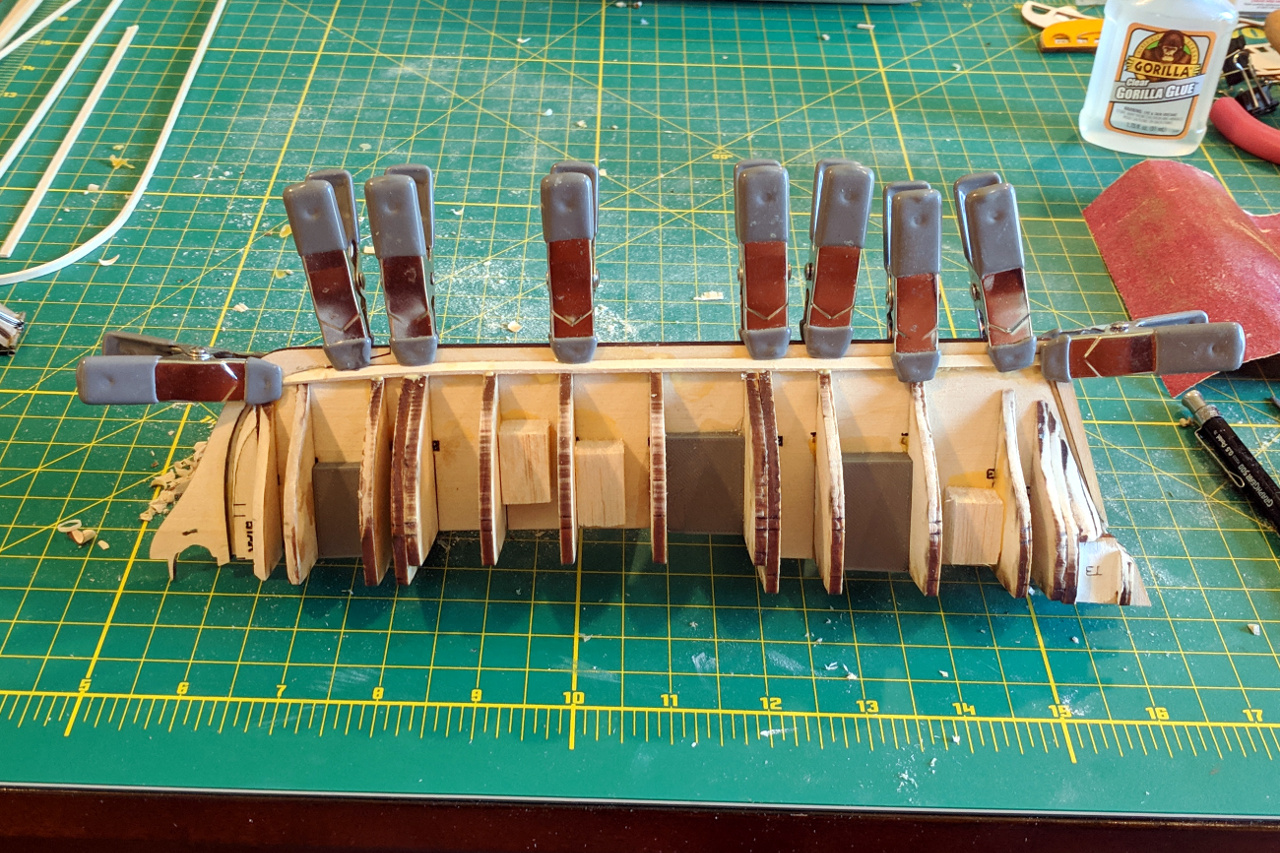
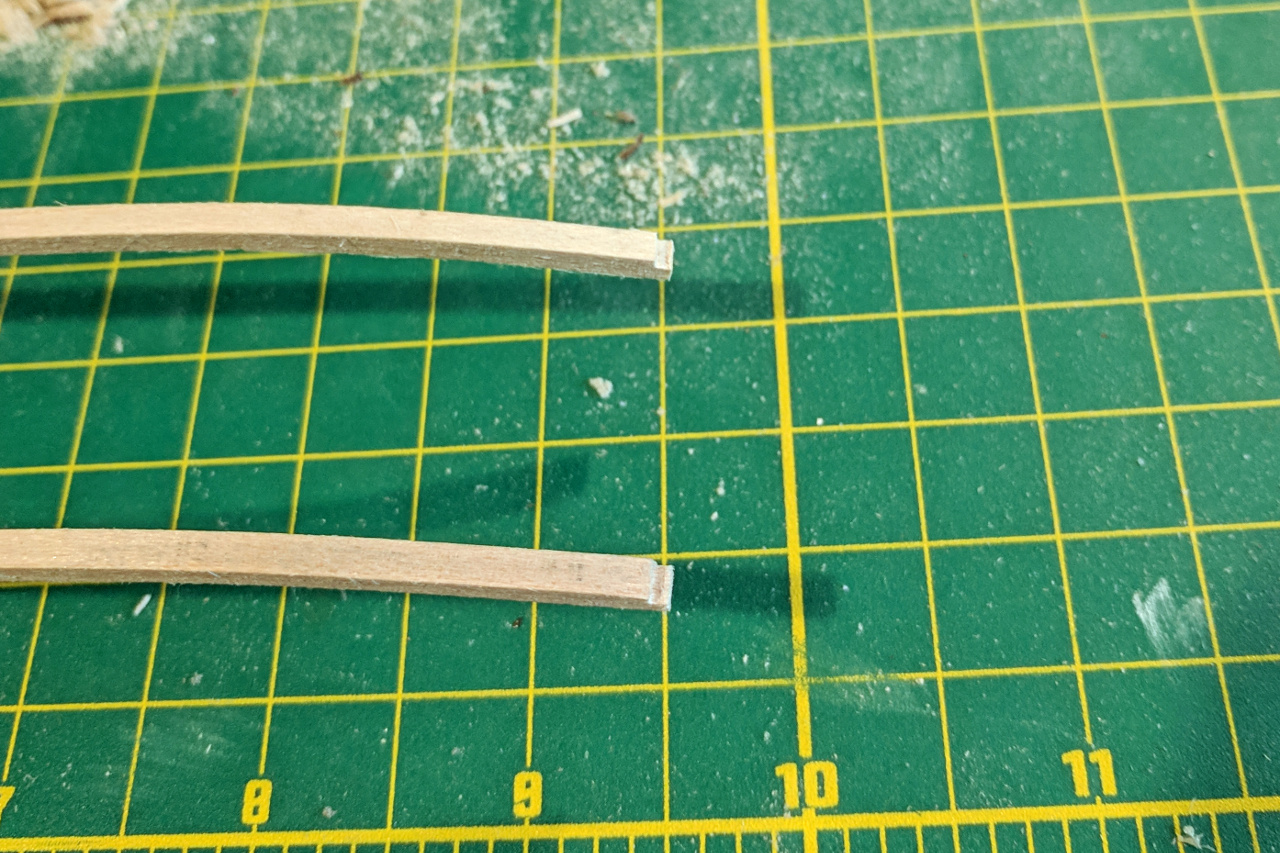
For the wales I am using 1/8″ x 1/8″ strips instead of 1/8″ x 1/16″. This will cause the wales to stand out above the surface of the hull. The front of the strips is notched to fit into the rabbet. (In hindsight, it may have been better to use a 1/8″ x 1/16″ strip here and add a second one on top of it later. Bending the thicker strips was a challenge.)
The current state of the model.