With the warm months just a memory, I’m back to working on the Sultana.
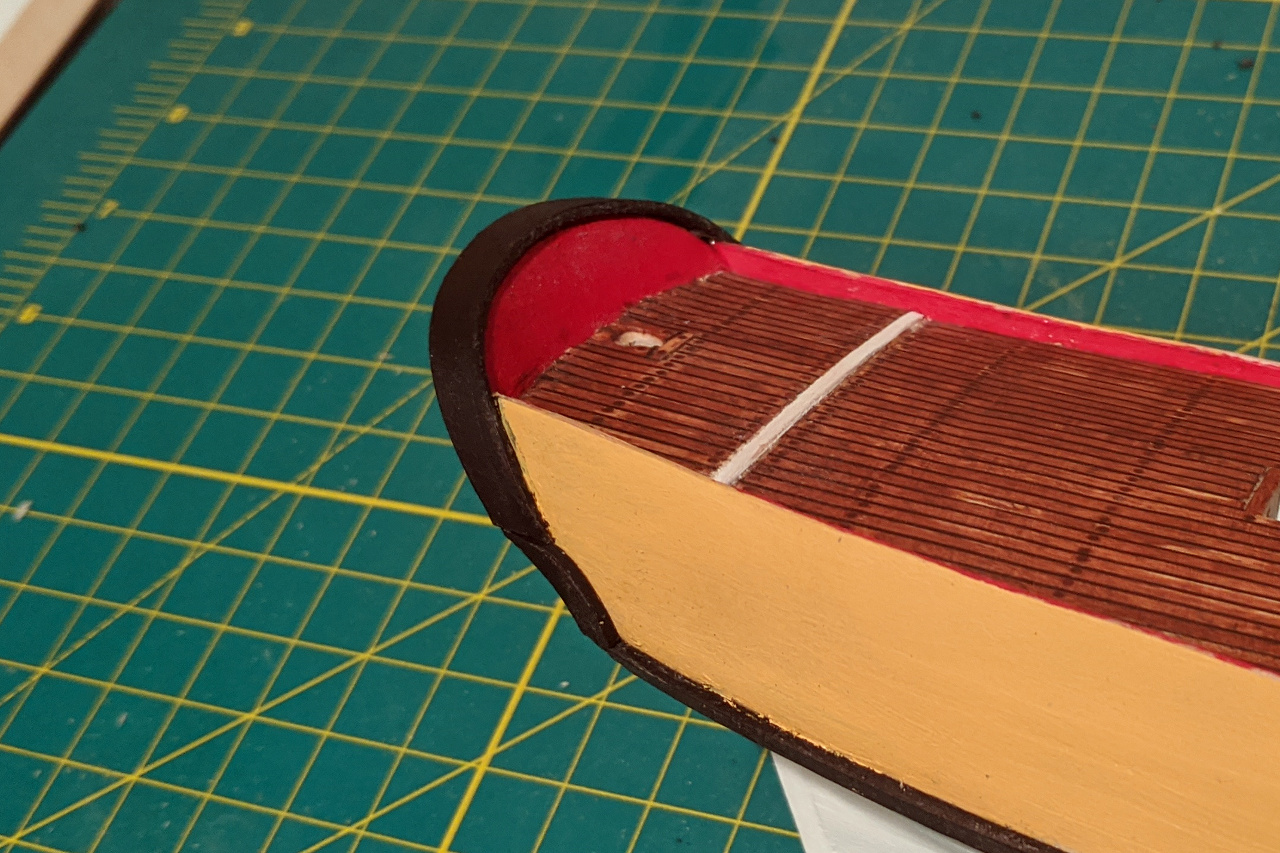
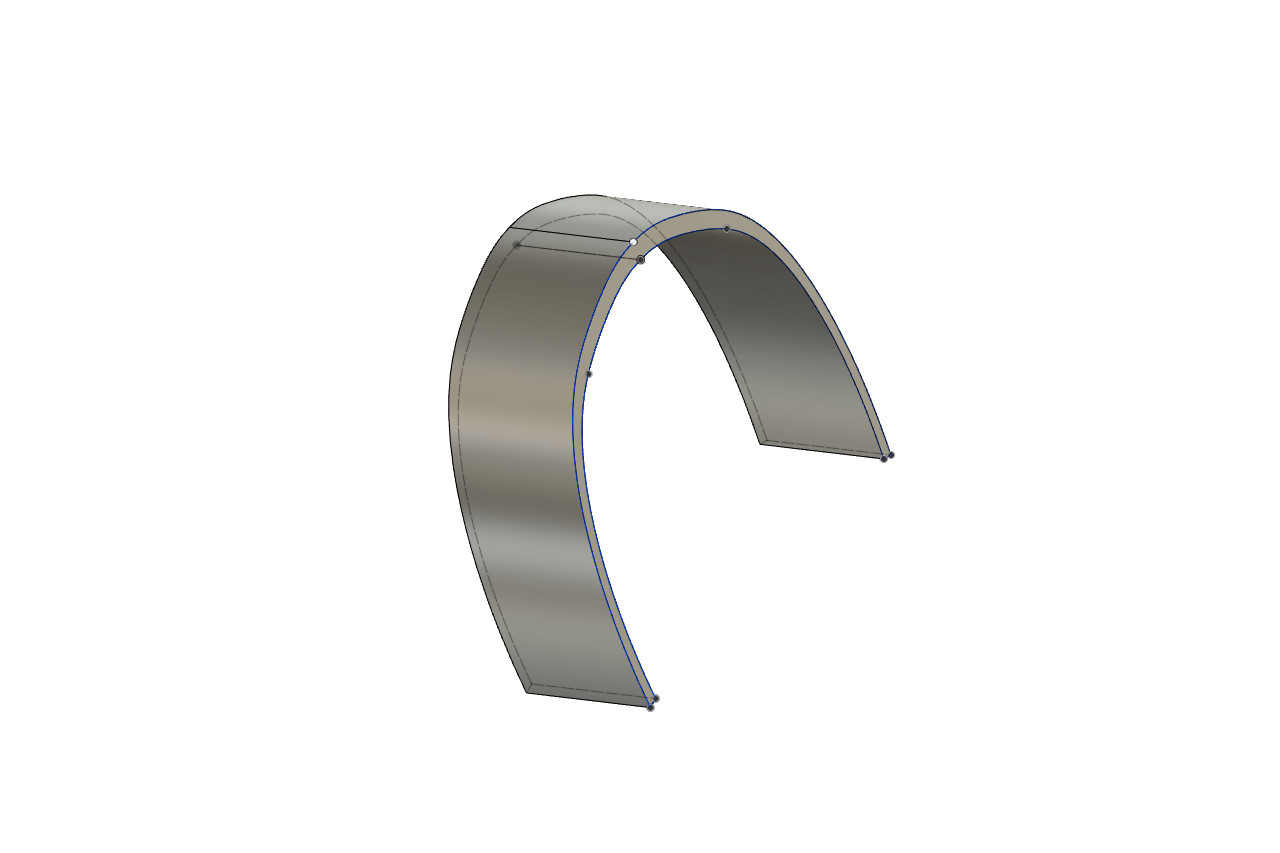
There are several parts that I’m anxious about on this model. The cap rail over the transom is one. I tried to bend a wood strip for the part, but had little success. So I have tried to produce it via 3D print instead. Modeling it in Fusion 360 was also a challenge, and I ended up with something of a compromise, as can be seen below.
I started with the curve of the transom shape that I had developed previously for the laser cut transom pieces. I thickened the curve to a thickness of 1.5mm.
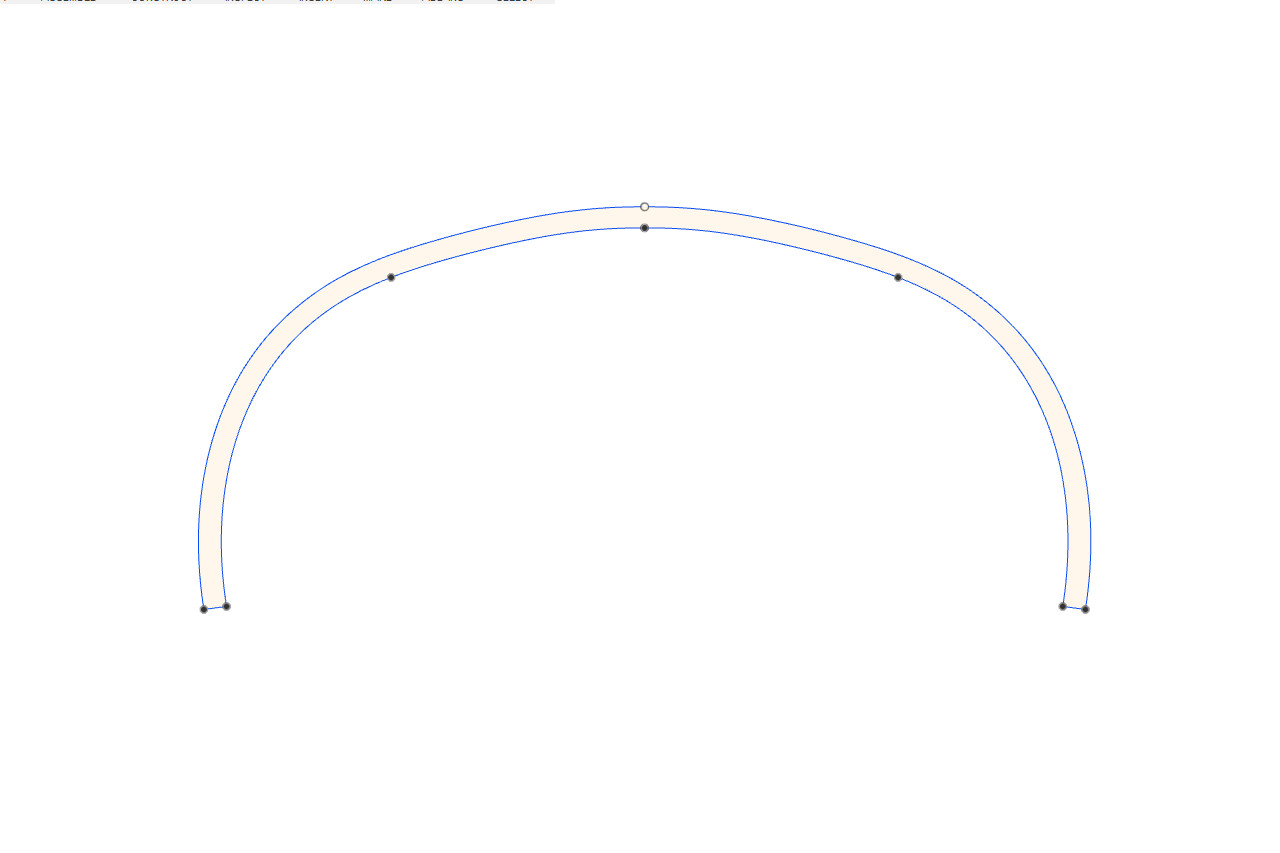
Then I wanted to extrude it horizontally. But when I tried to extrude I realized that it could only be extruded normal to the plane of the sketch.
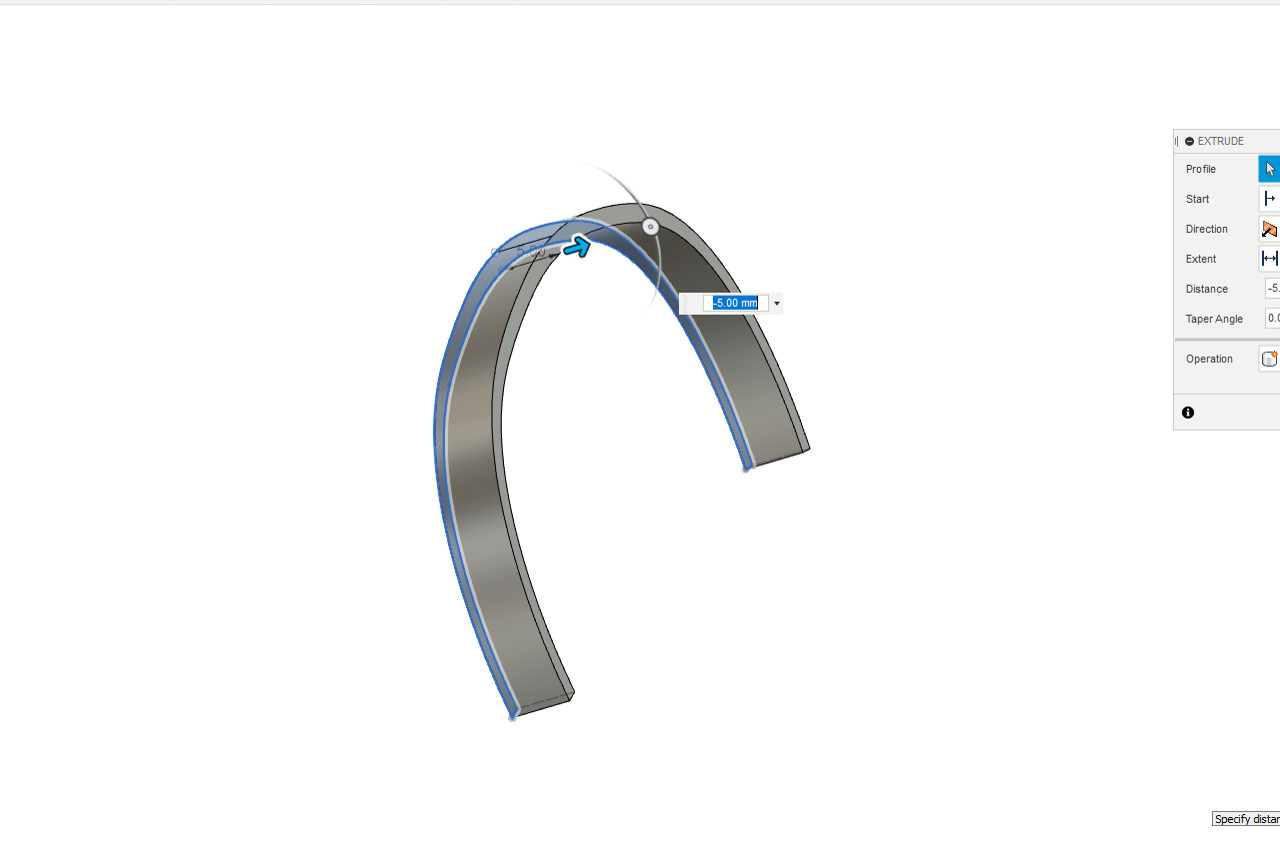
That wasn’t what I wanted. It turns out that the Sweep, rather than the Extrude, operation was the correct one. I added a line in the direction and length (10mm) that I wanted.
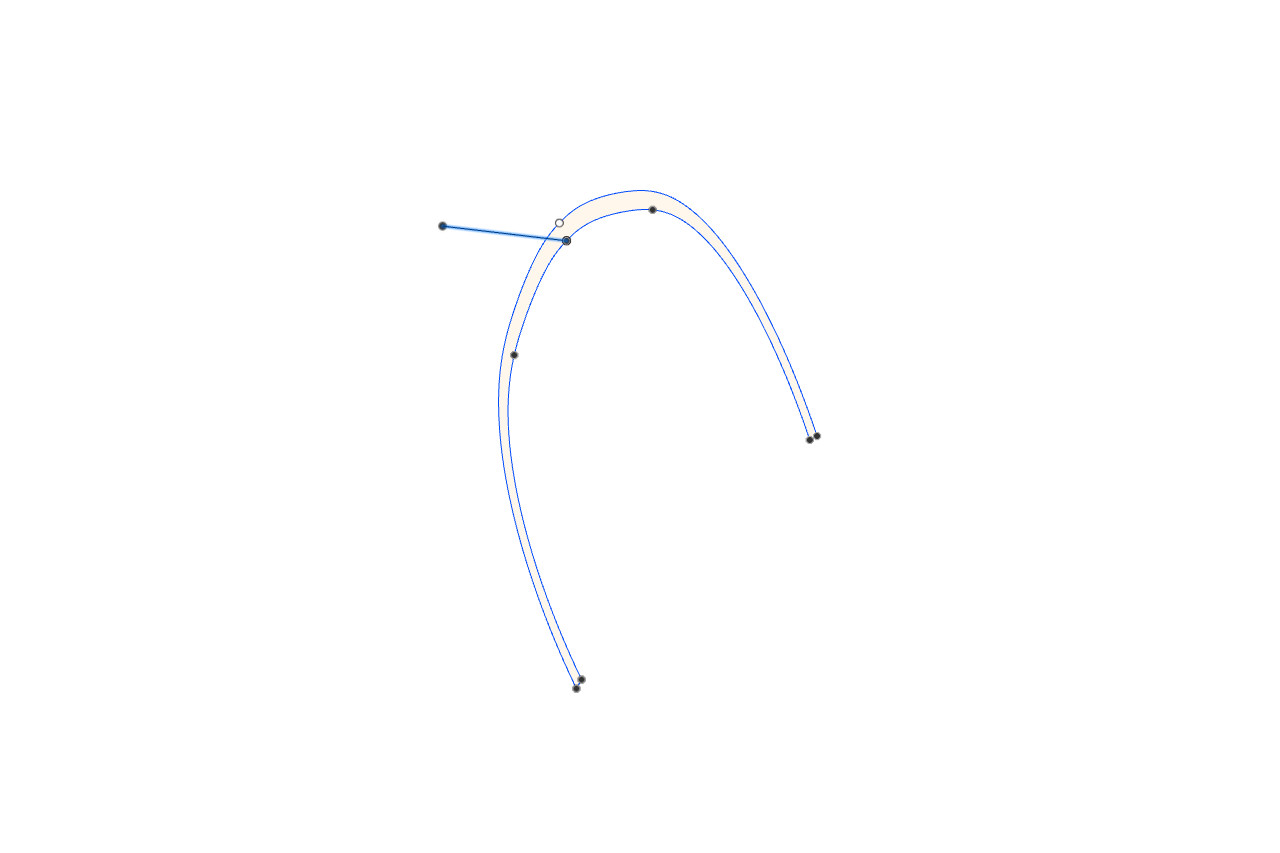
With that, the Sweep operation created the shape.
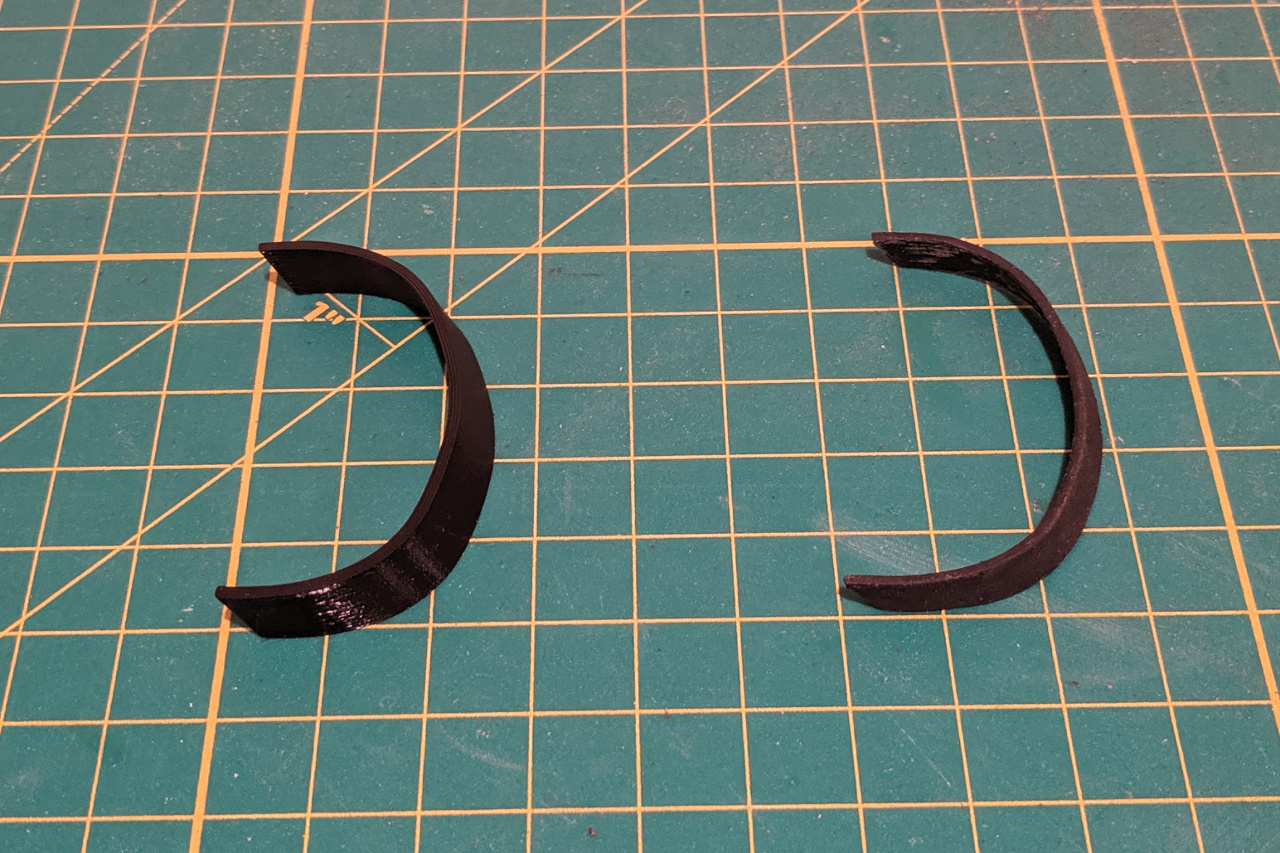
Below on the left is a picture of the piece as it came out of my 3D printer. I intentionally created a piece longer than necessary, with the intention of filing it down to the correct fit. In the picture at the right is the final piece after being filed down.
And the piece was finally glued into place. I created the small curved fashion pieces in wood, painted black, which merge the cap rail and wales.